Create Teams Notification Channel
Prerequisites
The incoming Webhook URL from your Teams account is required to integrate the SnappyFlow with Teams.
Generate Incoming Webhook URL
Log in to your Teams account.
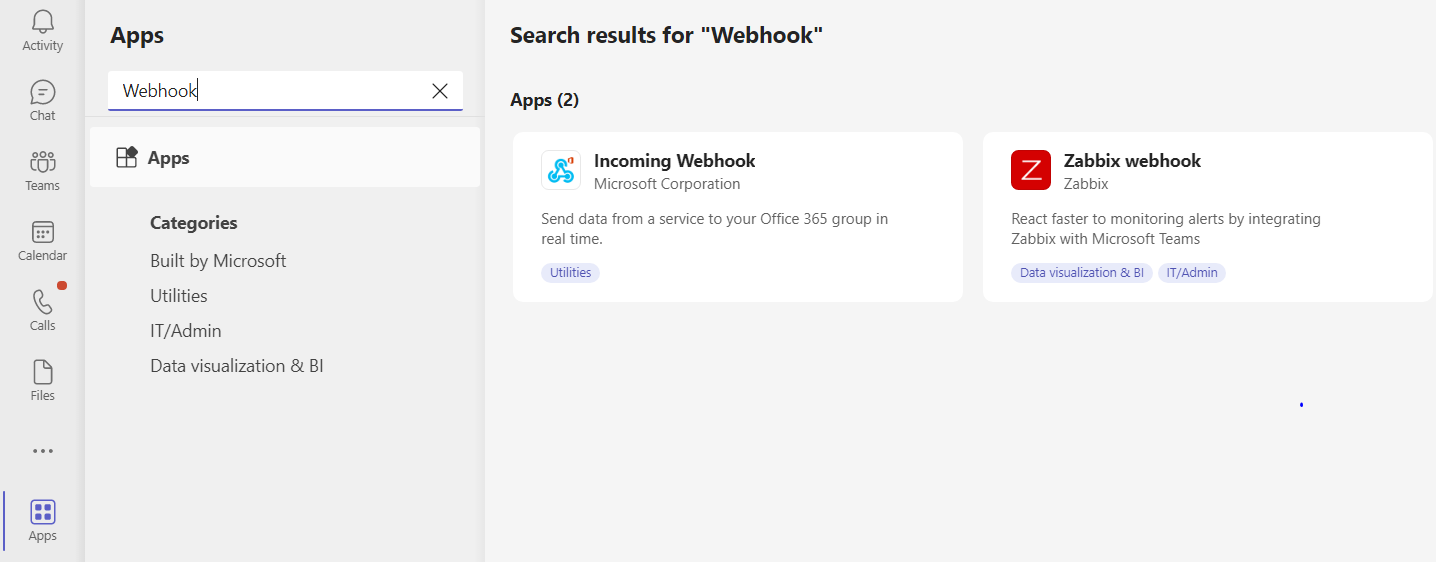
Navigate to Apps > Incoming Webhook.
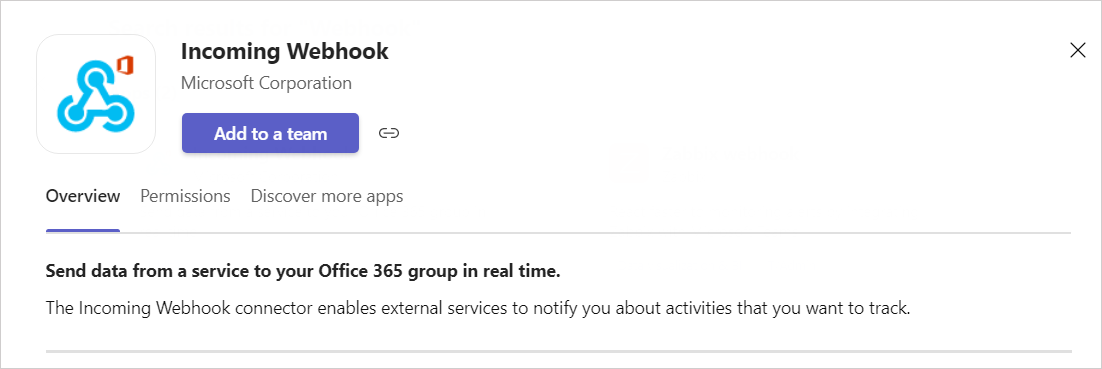
Click the
Add to a teambutton.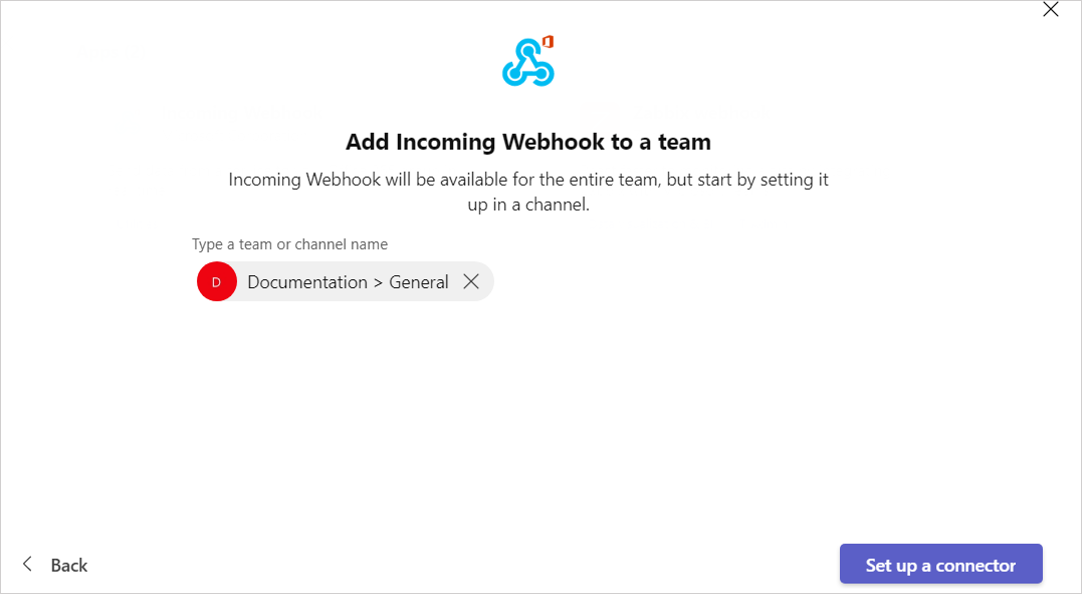
Select a team and click the
Set up a connectorbutton.
Click the
Configurebutton of the Incoming Webhook.
Give a profile name to the
Incoming Webhookand click theCreatebutton.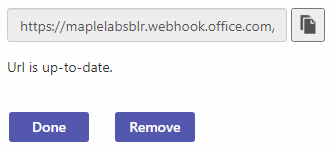
Copy the Incoming Webhook URL.
Click the
Donebutton.
Create a Teams Notification Channel in SnappyFlow
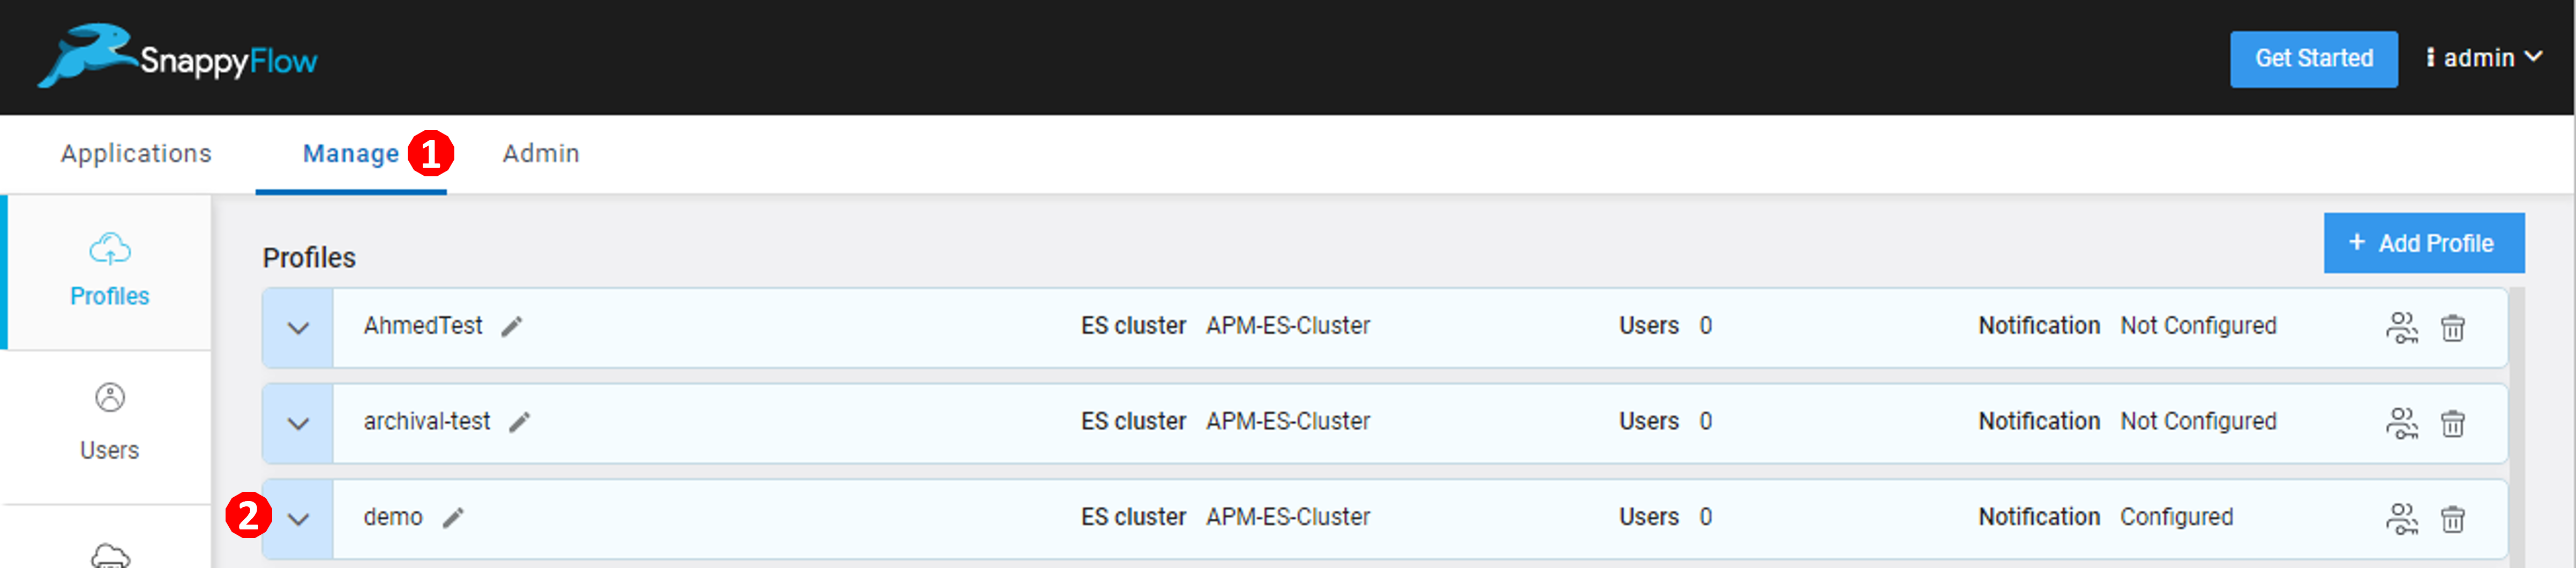
Go to the Manage (1) tab.
Click the
down arrow(2) icon near your profile.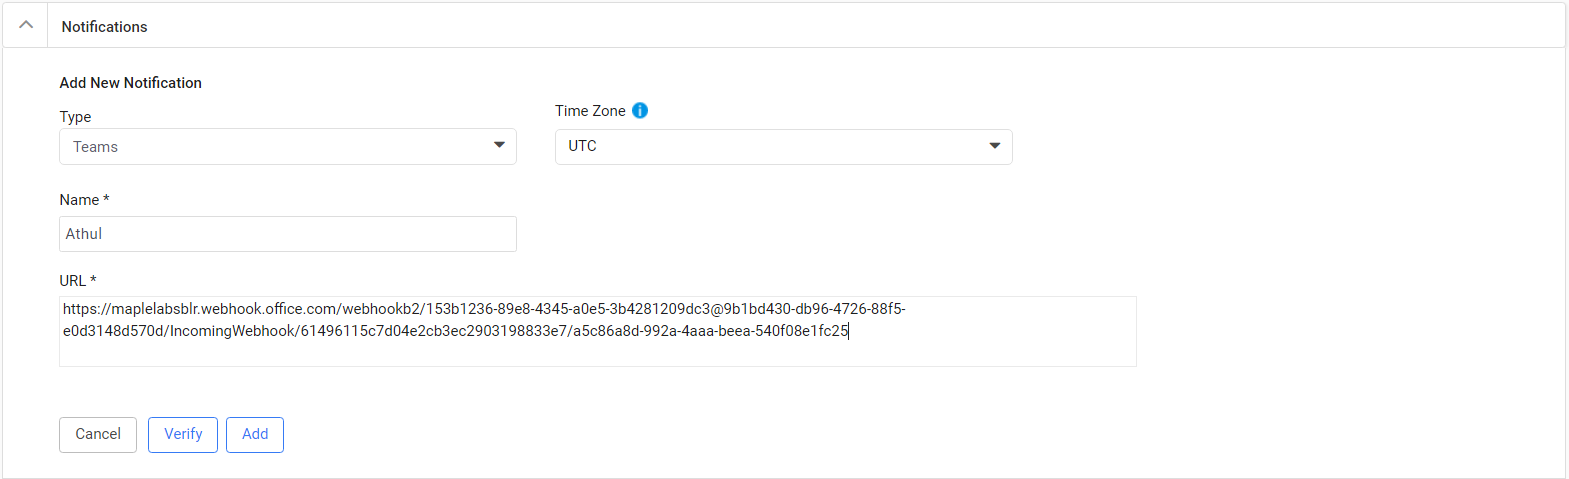
Go to the Notification section.
Enter the required details.
- Type - Click the drop-down icon and select
Teams - Name - Type a UserName
- URL - Enter the Webhook URL generated in your Teams account
- Type - Click the drop-down icon and select
Click the
Verifybutton.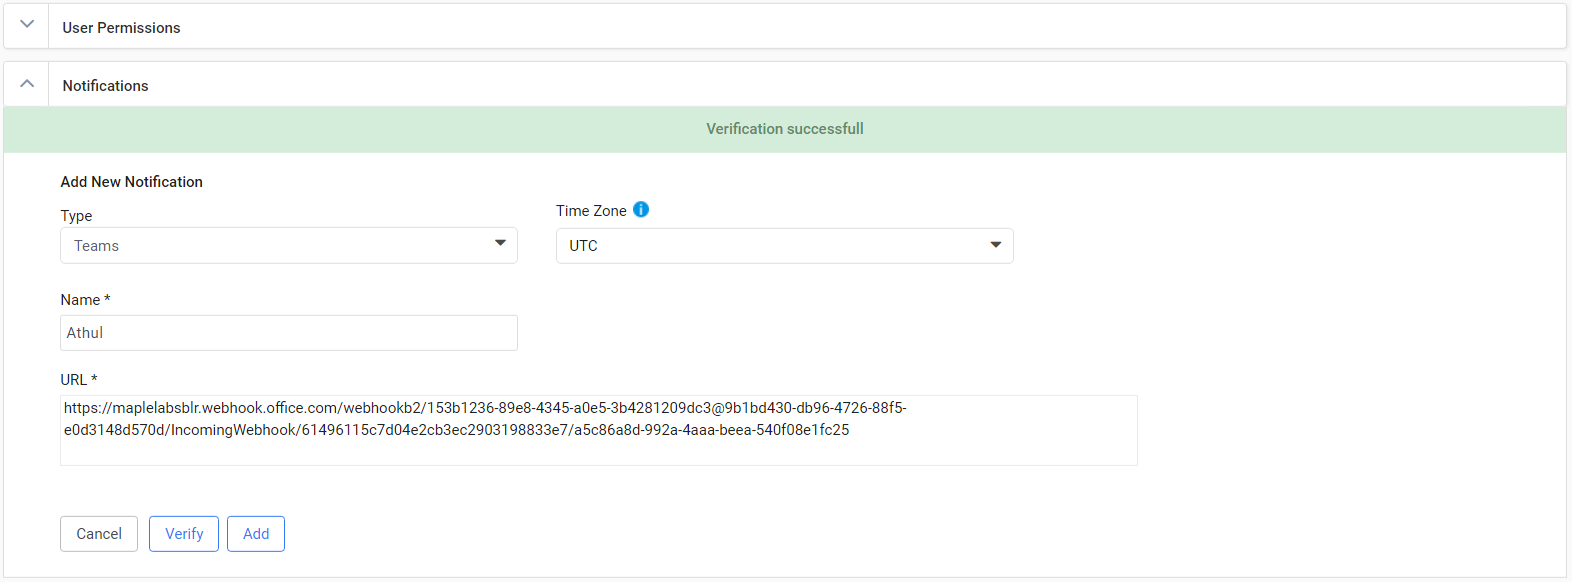
Verification successfulmessage will be generated if the URL is valid.Click the
Addbutton.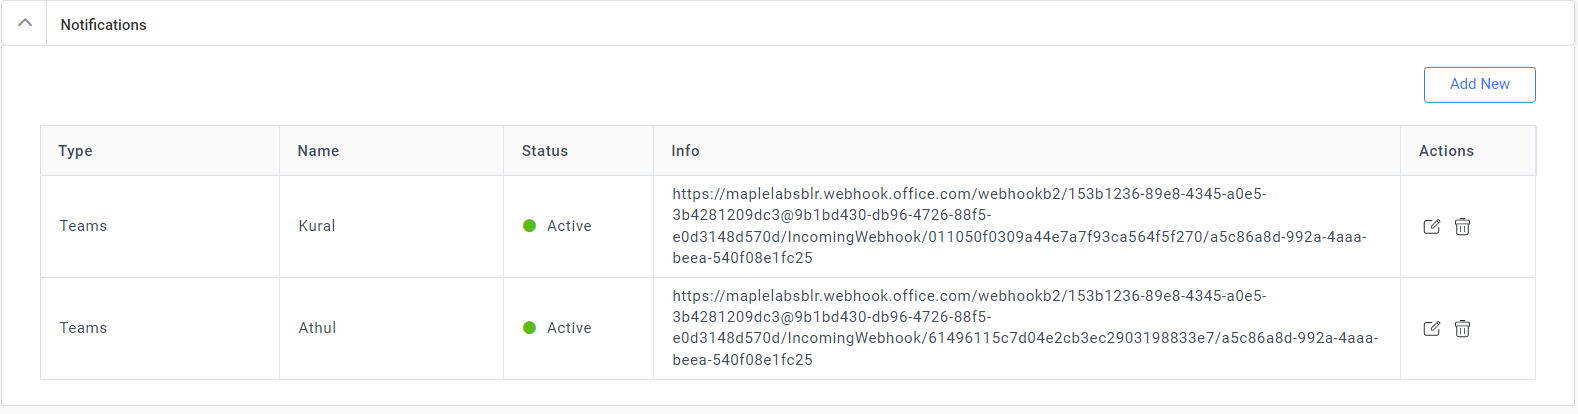
The table with user details will be auto-generated as shown in the above image. The table has the following details:
- Type - Notification type
- Name - Profile Name
- Status - State of integration
- Info- The incoming webhook URL
- Action - The action column has options to Edit and Delete the profile
Click the
Add newbutton to create multiple Teams notification profiles.You have successfully created a Teams notification channel. The next step is to map the notification to your project Click here.