Create Service Now Notification Channel
Install SnappyFlow Update Set
Do the following steps to install SnappyFlow Update Set in Service Now.
Download the SnappyFlow Update set. Update Set
Login to Service Now instance and Search for Update Set.
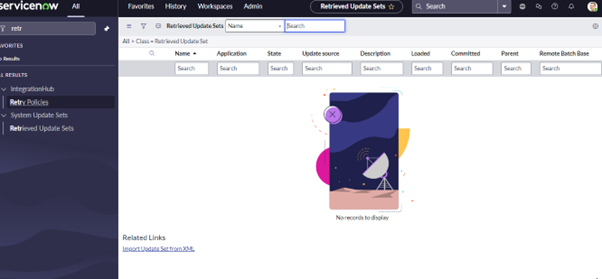
Select Retrieved Update Sets from the left menu.
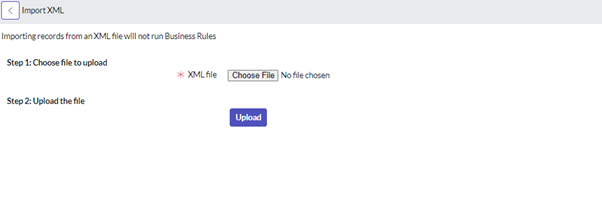
Manually import the SnappyFlow Update Set XML file.
Once you upload the XML file, the Update Set shows a state of
Loaded. Click on the name of the Update Set to preview and commit the code to the system.Preview the Update Set to ensure there are no errors. Then select Commit Update Set to merge the application into your system.
After setup is complete, search for Snappyflow in the navigation menu and see tables appear. Create a domain separation if needed.
Get Instance Details
Click the
User Iconon the top-right corner of the developer portal.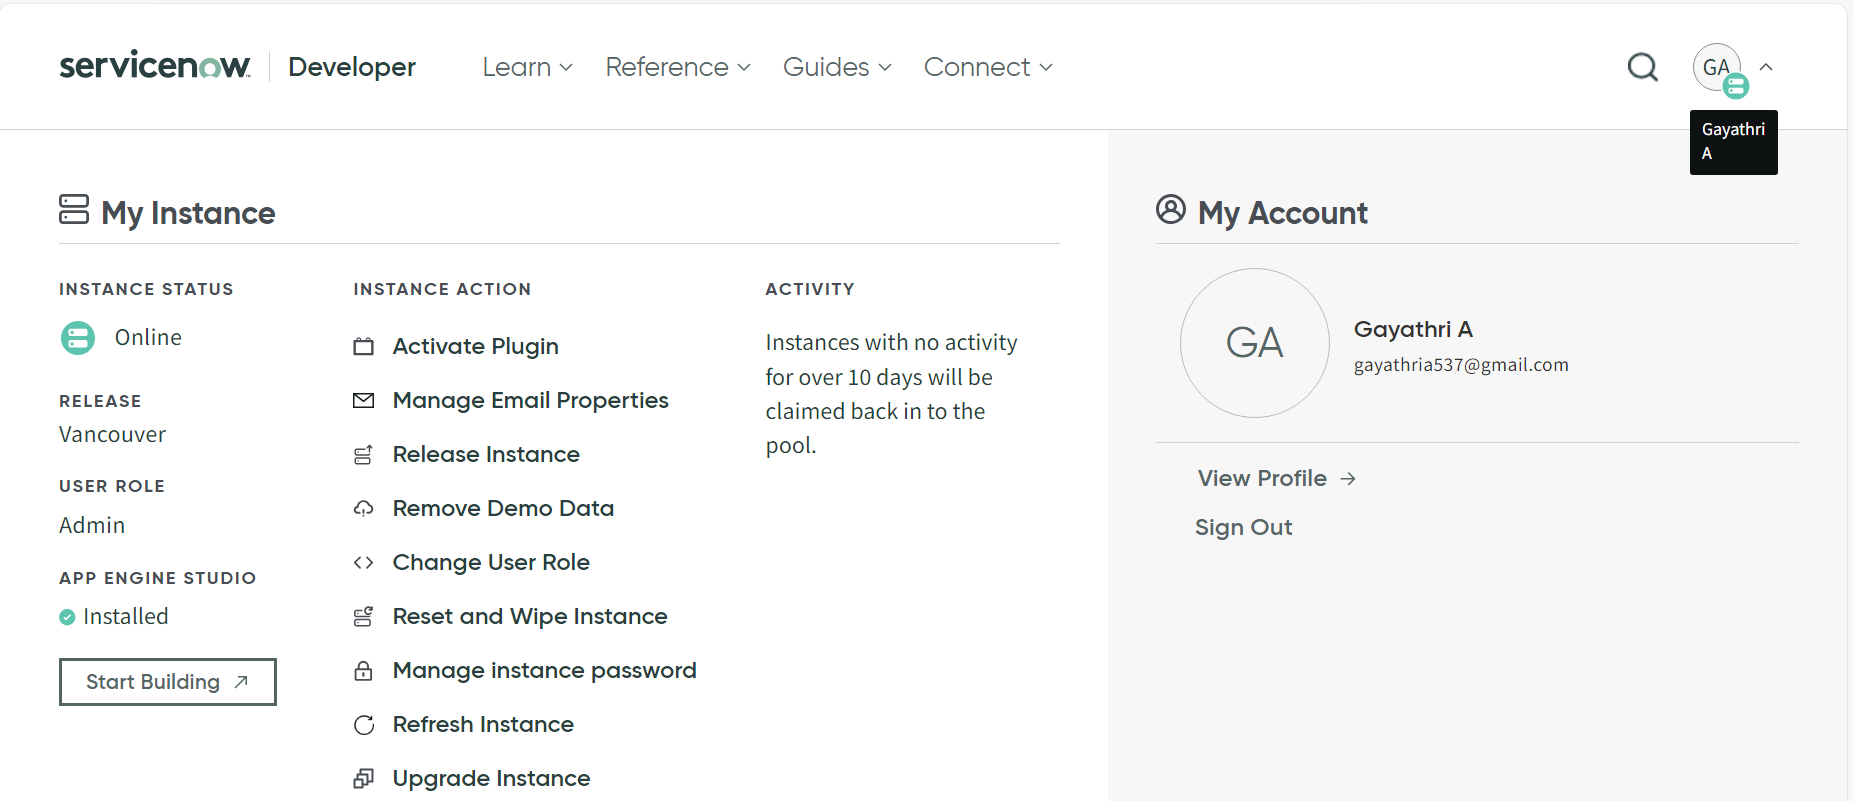
In Instance Action column, select
Manage instance password.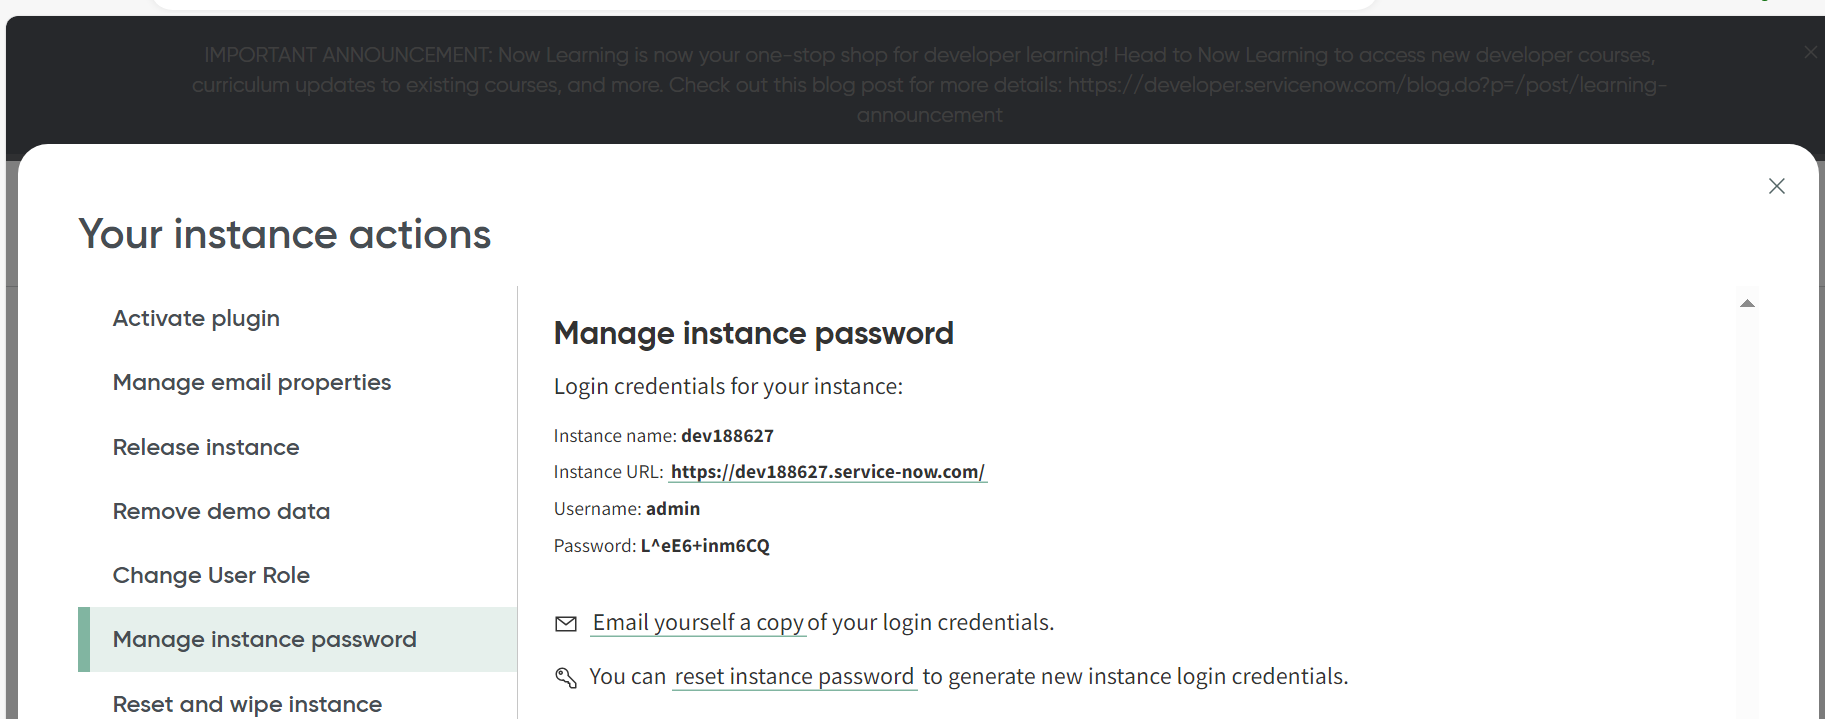
In the Manage Instance Password window, collect the following information:
- Instance Name
- Username
- Password
Create a Service Now Notification Channel in SnappyFlow
Go to the Manage tab of SnappyFlow.
Navigate to your Profile > Notification section.
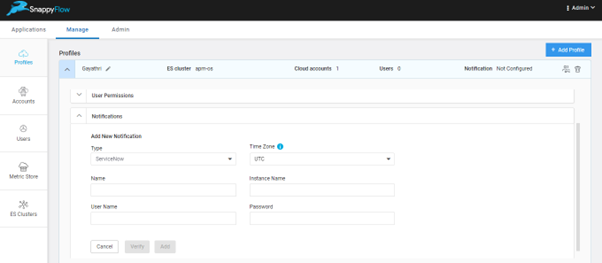
In the Notification section, enter the required details:
- Type: Click the drop-down icon and select
Service Now - Name: Give an unique name
- Instance Name: Give the instance name copied from Previous section
- User Name: Give the user name copied from Previous section
- Password: Give password copied from Previous section
- Type: Click the drop-down icon and select
Click the
Verifybutton to validate the details.Click the
Addbutton.
You have successfully created a Service Now notification channel. The next step is to map the notification to your project Click here.