Monitor Java Application on Instances
Application Packed in a jar File
Follow the below steps to start tracings for an application packed and built using a jar file.
Prerequisite
Install sfAgent to monitor Java application running on instance.
Configuration
Add the following arguments while starting your application using the java -jar command in IDE, Maven, or Gradle script:
java -javaagent:/opt/sfagent/sftrace/java/sftrace-java-agent.jar -Dsftrace.service_name=<my-service> -jar <application jar>
If the service_name is not provided, an auto-discovered service name will be added. Service_name is used to identify and filter the traces related to an application and should be named appropriately to distinctly identify it. The service name must only contain characters from the ASCII alphabet, numbers, dashes, underscores, and spaces.
Additional Features for Spring Boot Applications
By default, transaction names of unsupported Servlet API based frameworks are in the form of $method unknown route. To modify this and to report the names of the transaction in the form of $method and $path, add the below-given command in Java agent configuration.
-Delastic.apm.disable_instrumentations=spring-mvc
-Delastic.apm.use_path_as_transaction_name=true
Normalizing Transaction URL
Using path parameters like /user/$userId in your URL can result in a significant increase in the number of transaction types, which can become difficult to manage. To prevent this, it is recommended to use URL groups.
Example for URL groups:
if the application supports URLs as show below:
/owners, /owners/<owner_id>, /owners/<owner_id>/edit, /owners/<owner_id>/pets,
then URL groups would be configured as:
url_groups=/owners/*,/owner/*/edit,/owners/*/pets
Example
Below given configuration is an example of a Java application executed via command line using the parameters given in the previous sections.
java -javaagent:/opt/sfagent/sftrace/java/sftrace-java-agent.jar

-Dsftrace.service_name=my-service
-Delastic.apm.disable_instrumentations=spring-mvc
-Delastic.apm.use_path_as_transaction_name=true
-Delastic.apm.url_groups=/owners/*,/owner/*/edit,/owners/*/pets -jar <application jar>
View Trace Data
Follow the below steps to view the trace data.
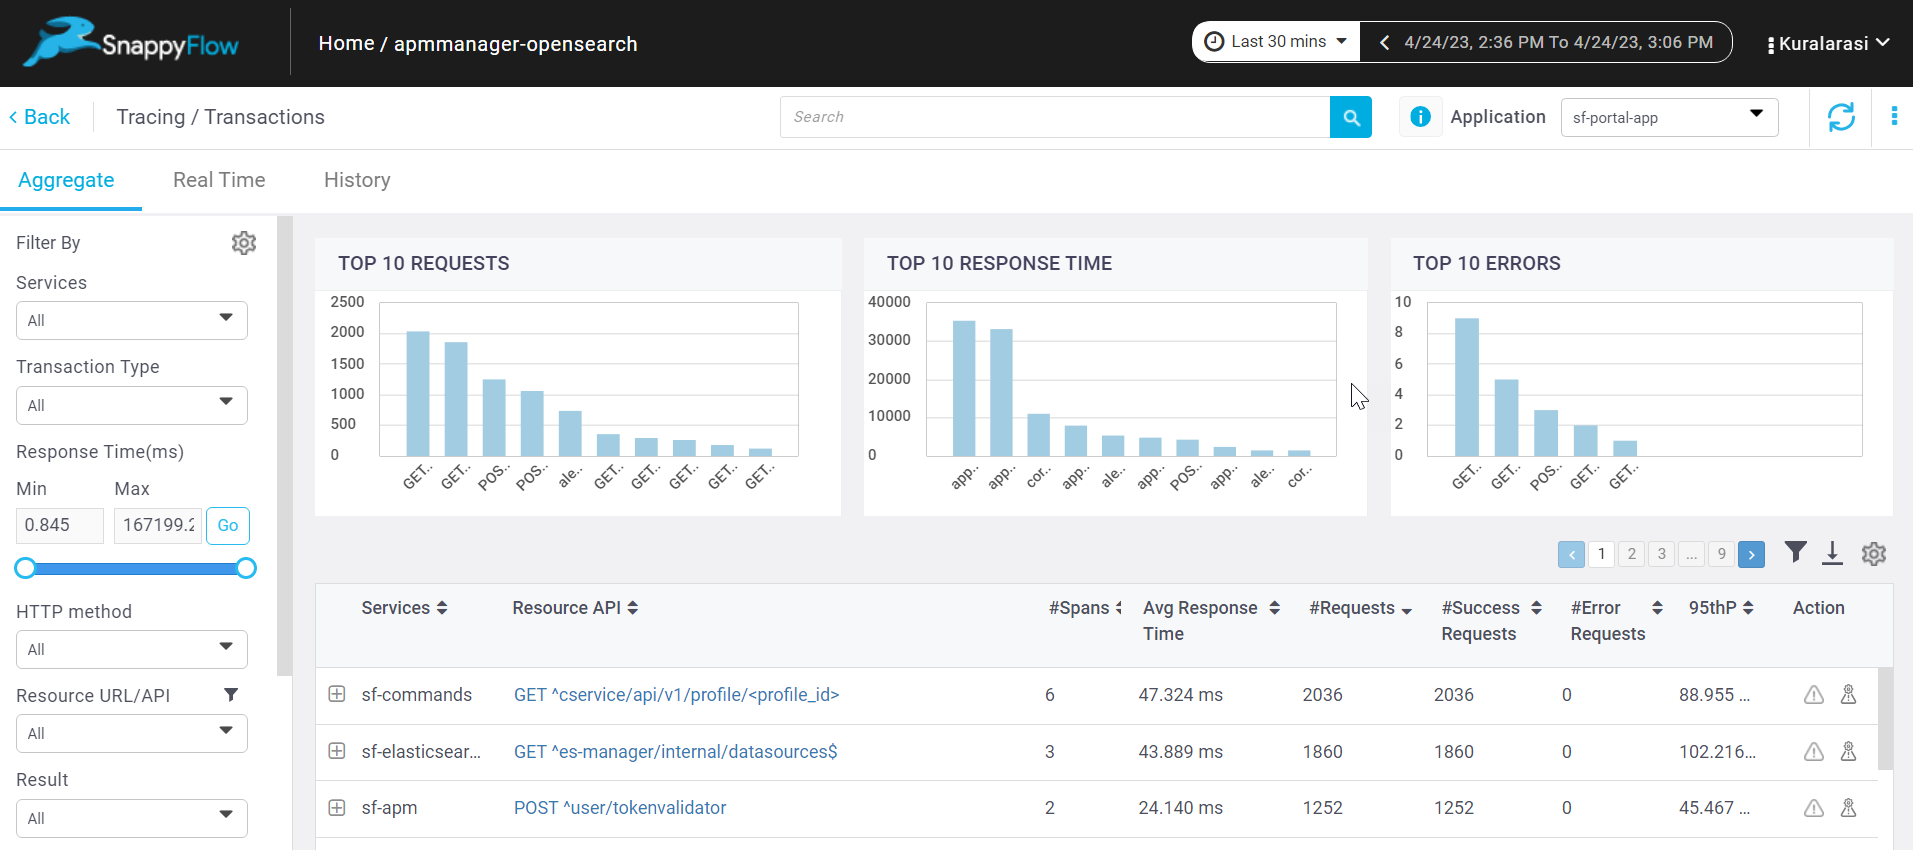
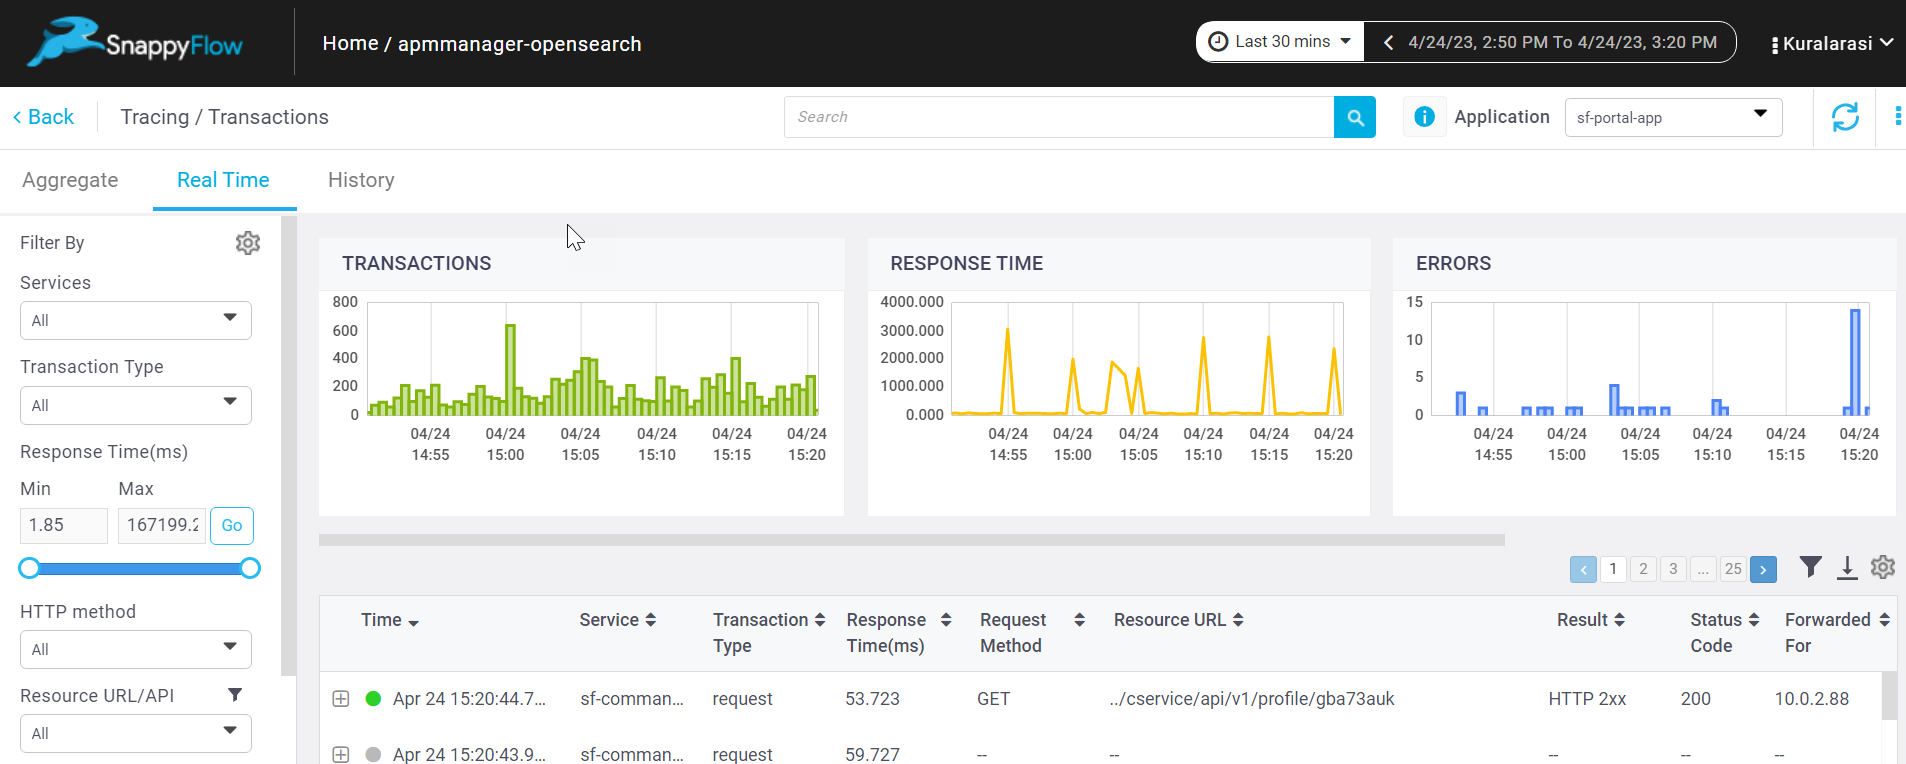
Go to the Application tab in SnappyFlow and navigate to your Project > Application > Dashboard.
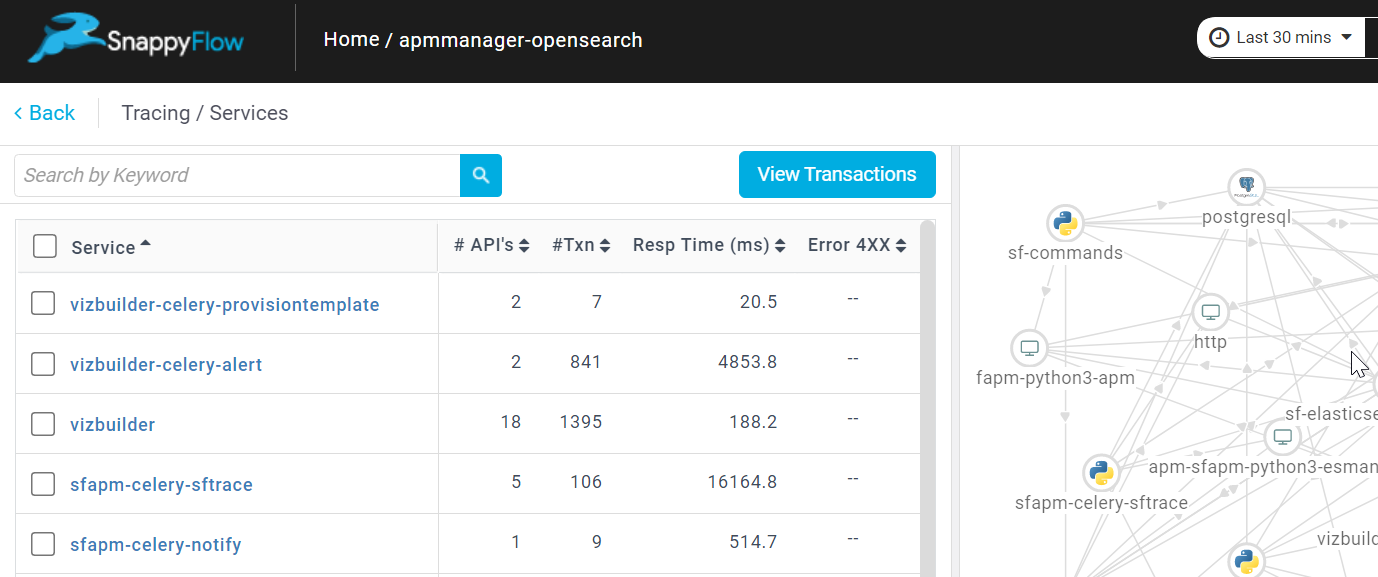
In the dashboard window, navigate to the Tracing section and click the
View Transactionsbutton.You can view the traces in the Aggregate and the Real Time tabs.
Apache Tomcat
Follow the below steps to start tracings for an application built using Apache Tomcat.
Prerequisite
Install sfAgent to monitor Java application running on instance.
Configuration
Create a
setenv.shfile in the below-mentioned folder.<tomcat installation path>/binAdd the trace agent configuration in the
setenv.shfile. Refer to tomcat_setenv.sh for tracing specific configurations.Execute the file using
chmod +x bin/tomcat_setenv.shcommand and start the server.
Additional Features for Spring Boot Applications
By default, transaction names of unsupported Servlet API based frameworks are in the form of $method unknown route. To modify this and to report the names of the transaction in the form of $method and $path, use the below-given command in the Java agent configuration.
-Delastic.apm.disable_instrumentations=spring-mvc
-Delastic.apm.use_path_as_transaction_name=true
Normalizing Transaction URL
Using path parameters like /user/$userId in your URL can result in a significant increase in the number of transaction types, which can become difficult to manage. To prevent this, it is recommended to use URL groups.
Example for URL groups:
If the application supports URLs as shown below:
/owners, /owners/<owner_id>, /owners/<owner_id>/edit, /owners/<owner_id>/pets,
then URL groups would be configured as below:
url_groups=/owners/*,/owner/*/edit,/owners/*/pets
Example Configuration
Below given configuration is an example of a Java application executed via command line using the parameters given in the previous sections.
java -javaagent:/opt/sfagent/sftrace/java/sftrace-java-agent.jar

-Dsftrace.service_name=my-service
-Delastic.apm.disable_instrumentations=spring-mvc
-Delastic.apm.use_path_as_transaction_name=true
-Delastic.apm.url_groups=/owners/*,/owner/*/edit,/owners/*/pets -jar <application jar>
View Trace Data
Follow the below steps to view the trace data.
Go to the Application tab in SnappyFlow and navigate to your Project > Application > Dashboard.
In the dashboard window, navigate to the Tracing section and click the
View Transactionsbutton.You can view the traces in the Aggregate and the Real Time tabs.
JBOSS EAP
Follow the below steps to start tracings for an application built using JBoss EAP.
Prerequisite
Install sfAgent to monitor Java application running on instance.
Configuration
Standalone Mode
Copy the configuration from the SFTRACE-CONFIG section of the JBOSS_standalone.conf file and add the trace agent configuration in the standalone.conf file and start the server.
Domain Mode
Copy the configuration from the SFTRACE-CONFIG section and add the trace agent configuration in domain.xml and start the server. Refer to JBOSS_domain.xml for tracing specific configurations.
After updating the configuration, restart the application.
Additional Features for Spring Boot Applications
By default, transaction names of unsupported Servlet API based frameworks are in the form of $method unknown route. To modify this and to report the names of the transaction in the form of $method and $path, add the below-given command in the Java agent configuration.
-Delastic.apm.disable_instrumentations=spring-mvc
-Delastic.apm.use_path_as_transaction_name=true
Normalizing Transaction URLs
Using path parameters like /user/$userId in your URL can result in a significant increase in the number of transaction types, which can become difficult to manage. To prevent this, it is recommended to use URL groups.
Example for URL groups
if the application supports URL as shown below:
/owners, /owners/<owner_id>, /owners/<owner_id>/edit, /owners/<owner_id>/pets,
Then URL groups would be configured as:
url_groups=/owners/*,/owner/*/edit,/owners/*/pets
Example Configuration
Below given configuration is an example of a Java application executed via command line using the parameters given in the previous sections.
java -javaagent:/opt/sfagent/sftrace/java/sftrace-java-agent.jar

-Dsftrace.service_name=my-service
-Delastic.apm.disable_instrumentations=spring-mvc
-Delastic.apm.use_path_as_transaction_name=true
-Delastic.apm.url_groups=/owners/*,/owner/*/edit,/owners/*/pets -jar <application jar>
View Trace Data
Follow the below steps to view the trace data.
Go to the Application tab in SnappyFlow and navigate to your Project > Application > Dashboard.
In the dashboard window, navigate to the Tracing section and click the
View Transactionsbutton.You can view the traces in the Aggregate and the Real Time tabs.