Snappyflow sfPoller Server for vCenter
Pre-Requisites:
- vCenter Server 5.5 and above.
- vCenter login credentials for a user having administrative privileges or enough rights to provision VMs in a data center.
- If your datacenter does not support DHCP, static IP address details for SnappyFlow server.
Resource Requirement For SnappyFlow Server:
- vCPU: 2
- RAM: 2 GB
- Disk: 20 GB, (IDE, SCSI disks supported)
Instructions:
- Import OVA into your vCenter using vSphere client.
- Verify IP address of the SnappyFlow VM/Server in summary section of vSphere client.
- Connect to server using http:// ip address
- Login using admin/admin
- Follow the instructions to setup server.
Configure sfPoller
Profile Key
The profile key is used to Synchronize your SnappyFlow account with sfPoller.
Go to the Manage tab of SnappyFlow and select the
Profile Keyicon of your Profile.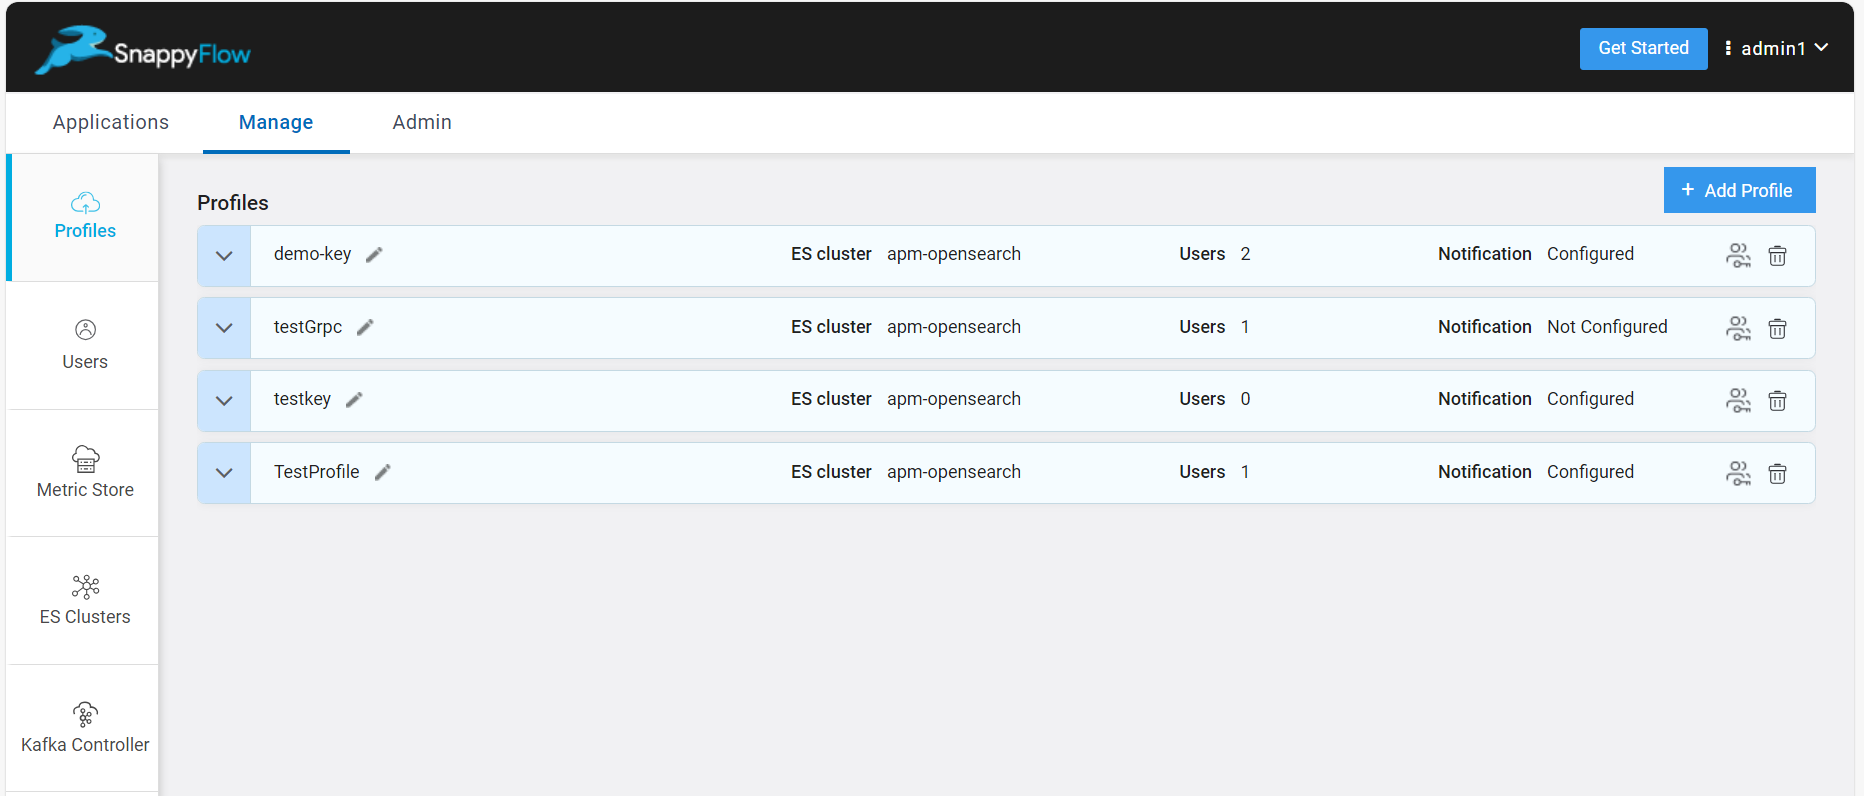
Copy the Profile Key.
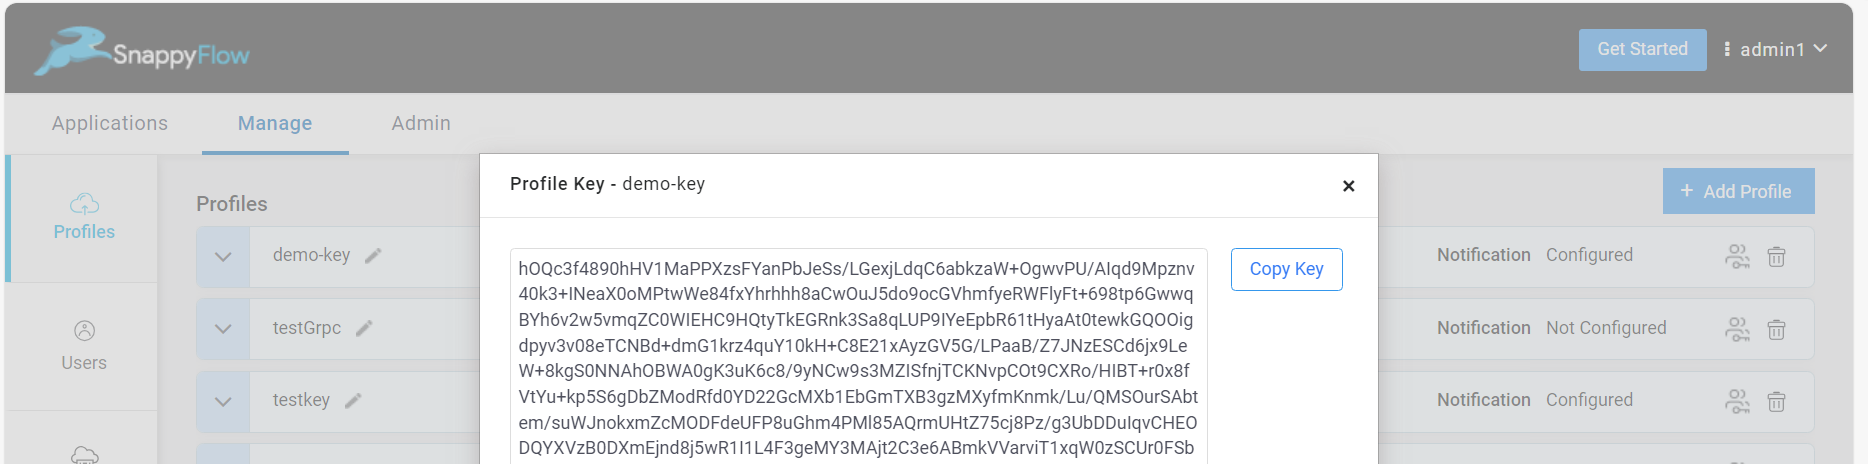
Go the the Manage tab of sfPoller and paste the profile key in the Profile Key section.

Select the
Savebutton.
Add Cloud Account
Follow the below steps to create a Cloud Account in sfPoller.
- Go the the Manage tab > Cloud Account section of sfPoller.
- Select the
Addoption. - In the Add Cloud Account window, select the account type from the drop-down list and fill the following details:
- Name - Give a meaningful name to your cloud account
- Access Key - Access Key provided your cloud service
- Secret Key - Secret Key provided your cloud service
- Token - Token provided your cloud service
- Region - Select a region from the drop-down
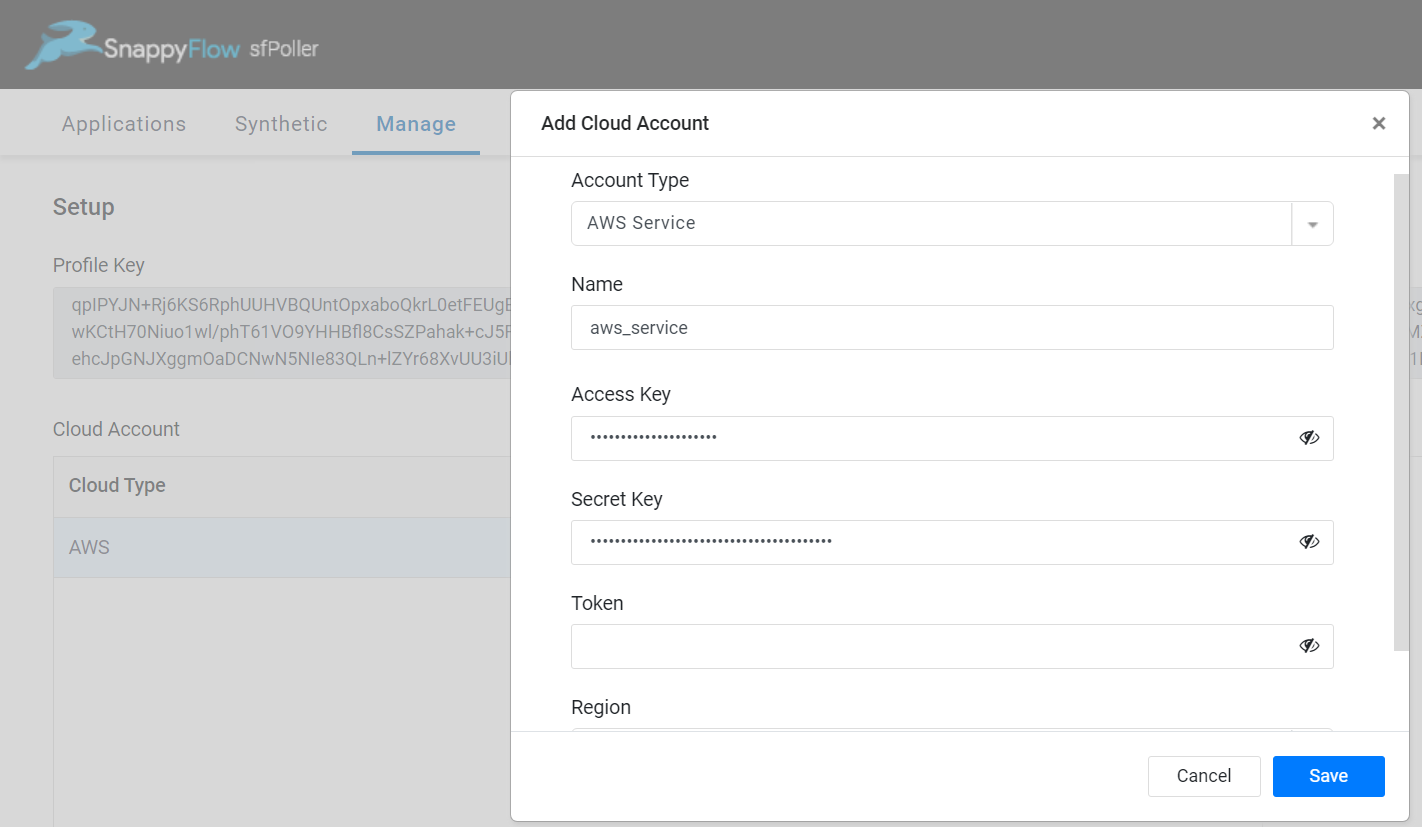
- Select the
Savebutton.
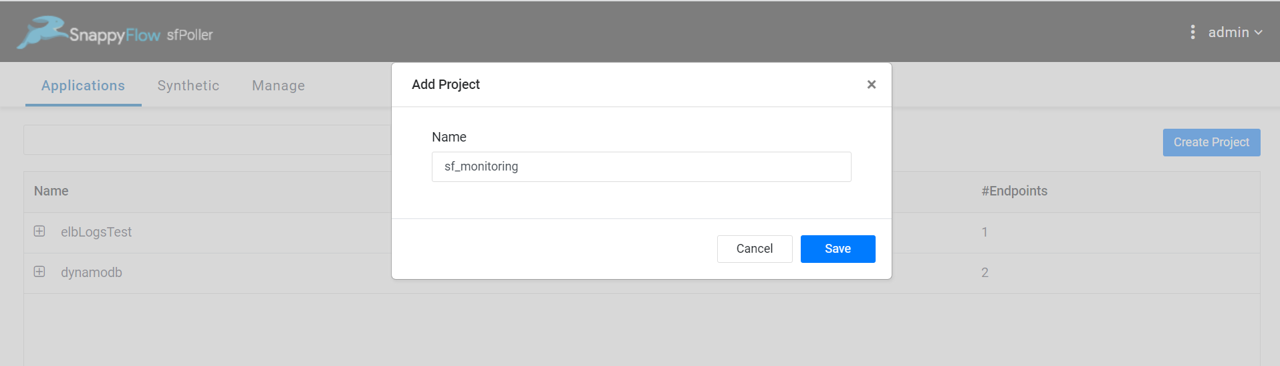
Create Project
Follow the below steps to create a Project in sfPoller.
Go to the Application tab of sfPoller.
Select the
Create Projectbutton.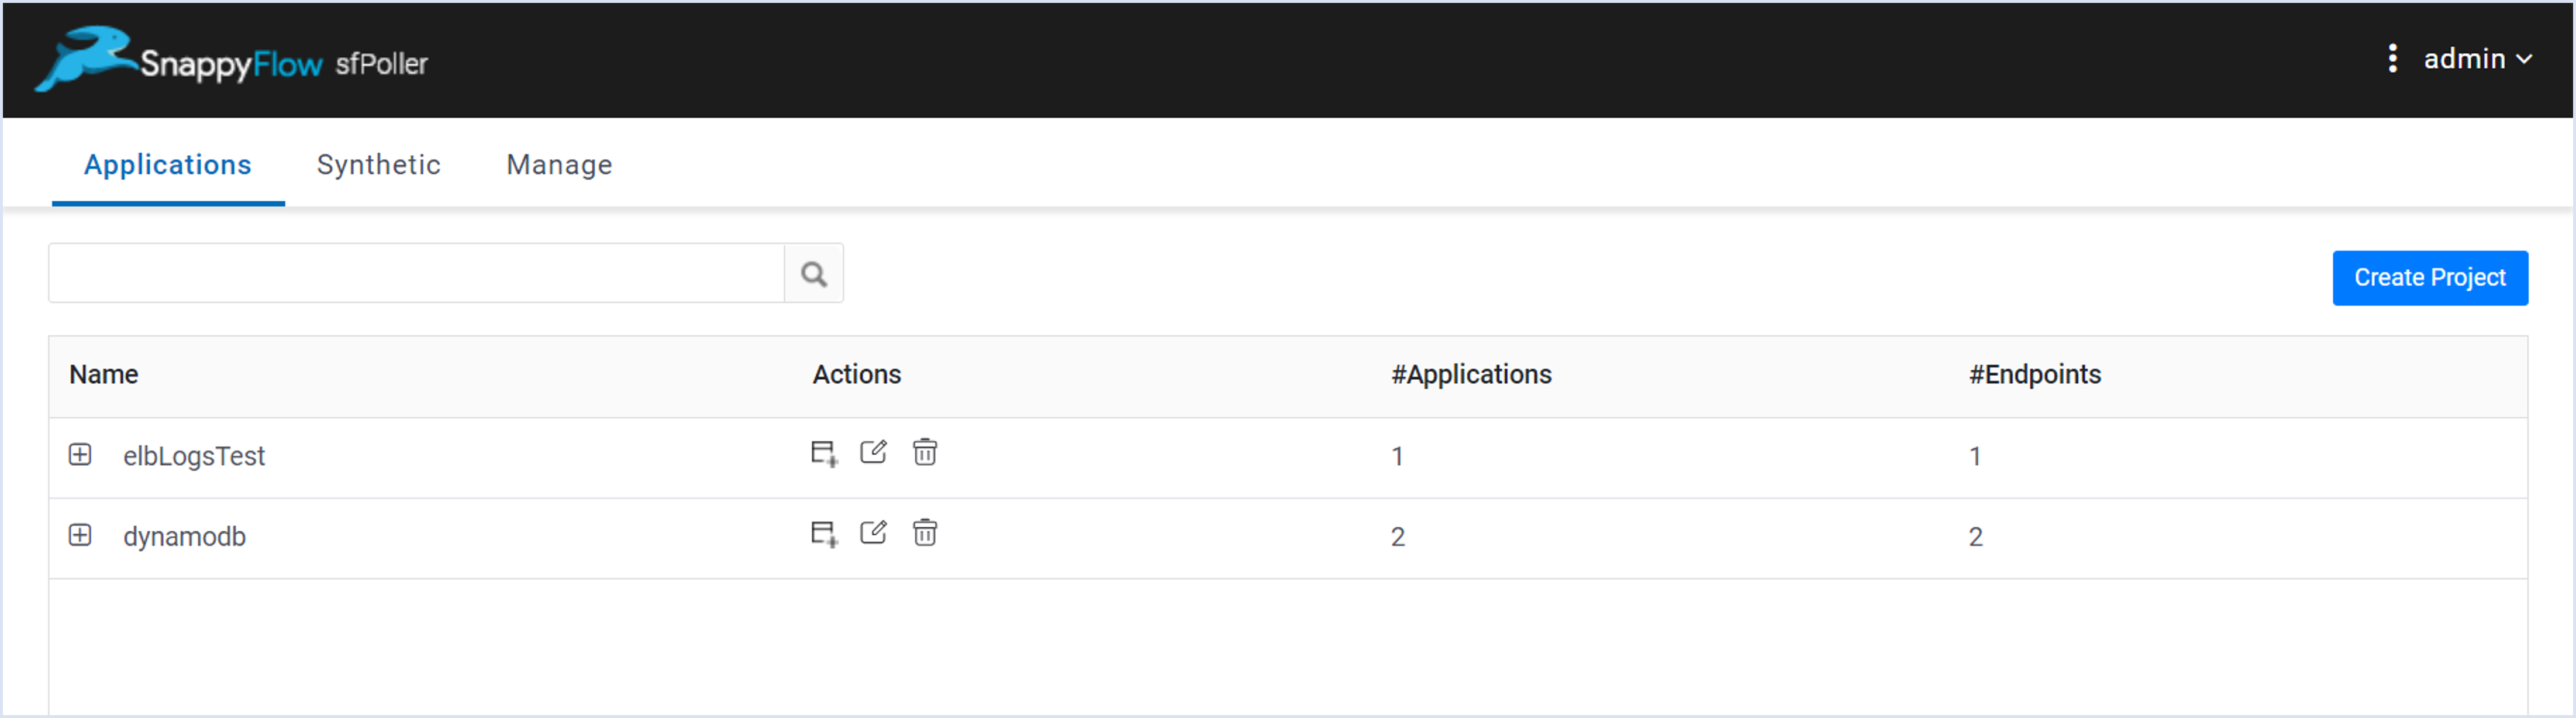
In the Add Project window, give a meaningful project name and save.
Create Application
In sfPoller, there are two ways to create an Application.
- Manual method
- Discover method
Create an Application Using Manual Method
Go to the Application tab of sfPoller.
Navigate to your Project and select the
+add icon in the Action column.In the Add Application window, select
Create Newoption and click theNextbutton.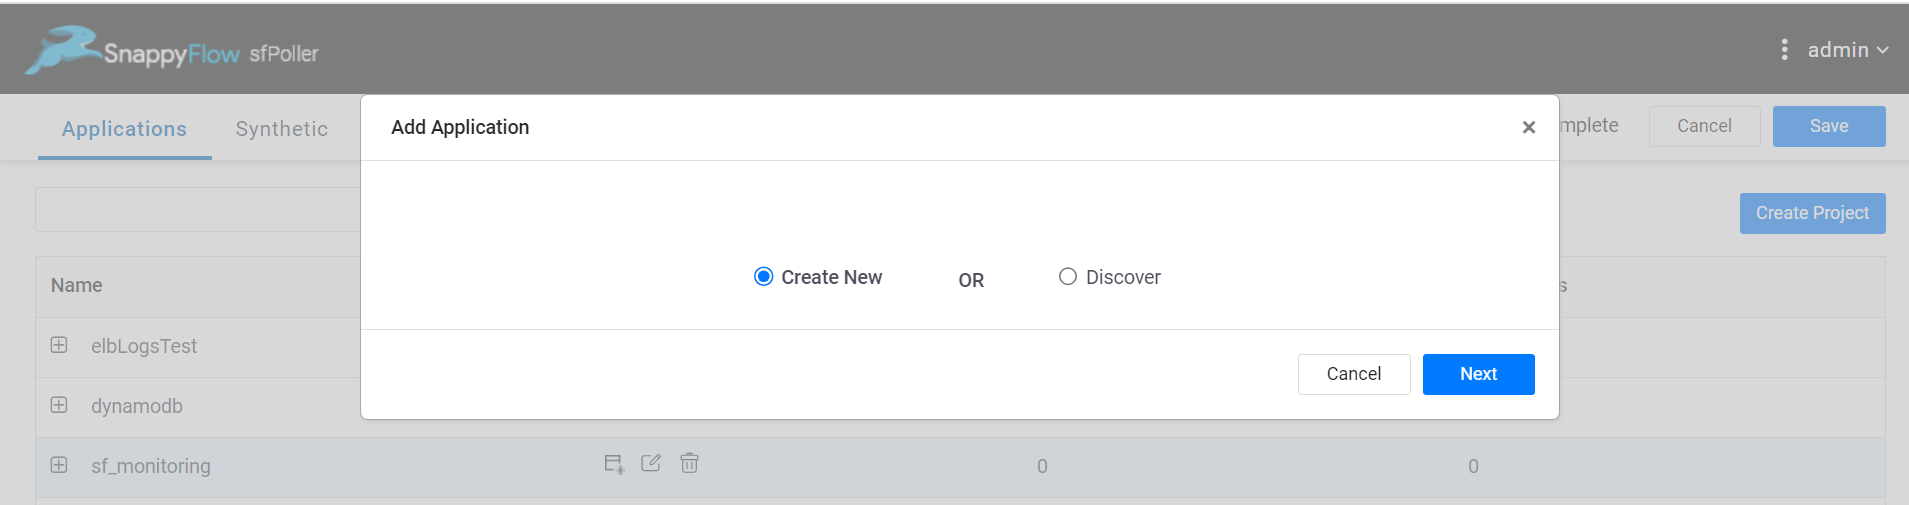
In the Create Application window, give a meaningful name to the application and click the
Savebutton.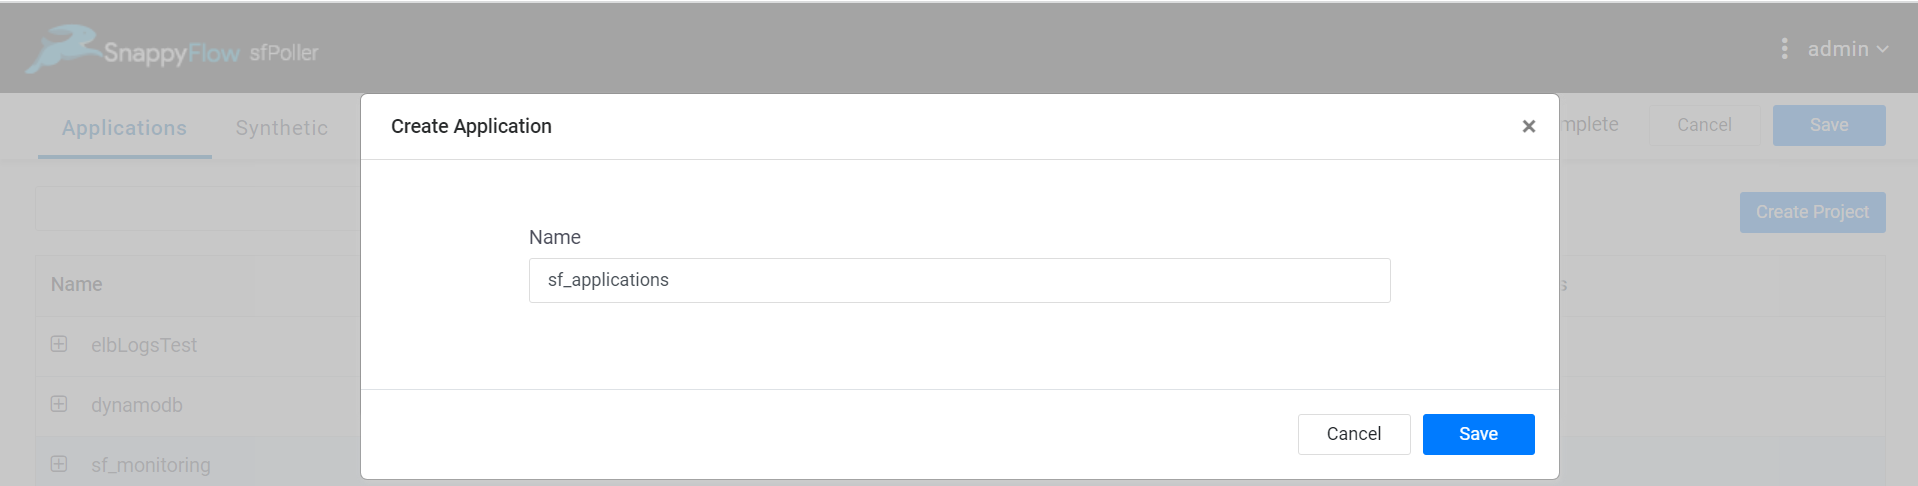
Create an Application Using Discover Method
Go to the Application tab of sfPoller.
Navigate to your Project and select the
+add icon in the Action column.In the Add Application window, select
Discoveroption and click theNextbutton.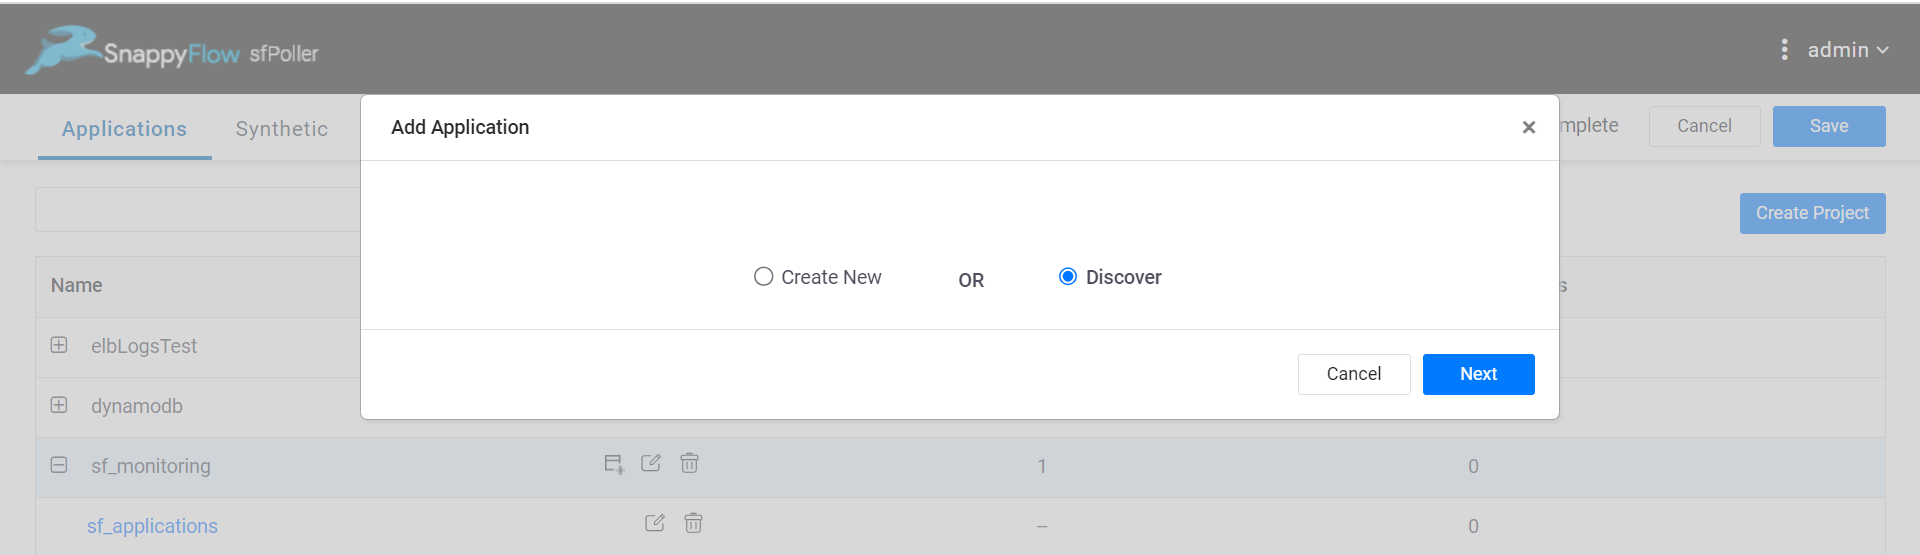
In the Discover and Add Application window, add the following details:
- Cloud account - Select your cloud account from the drop-down list
- Tag Key Name - Key of the tag
- Tag Value - Value of the tag
- Tag for generating application Name - Specify the tag Key, from which the value will be used as the application name.
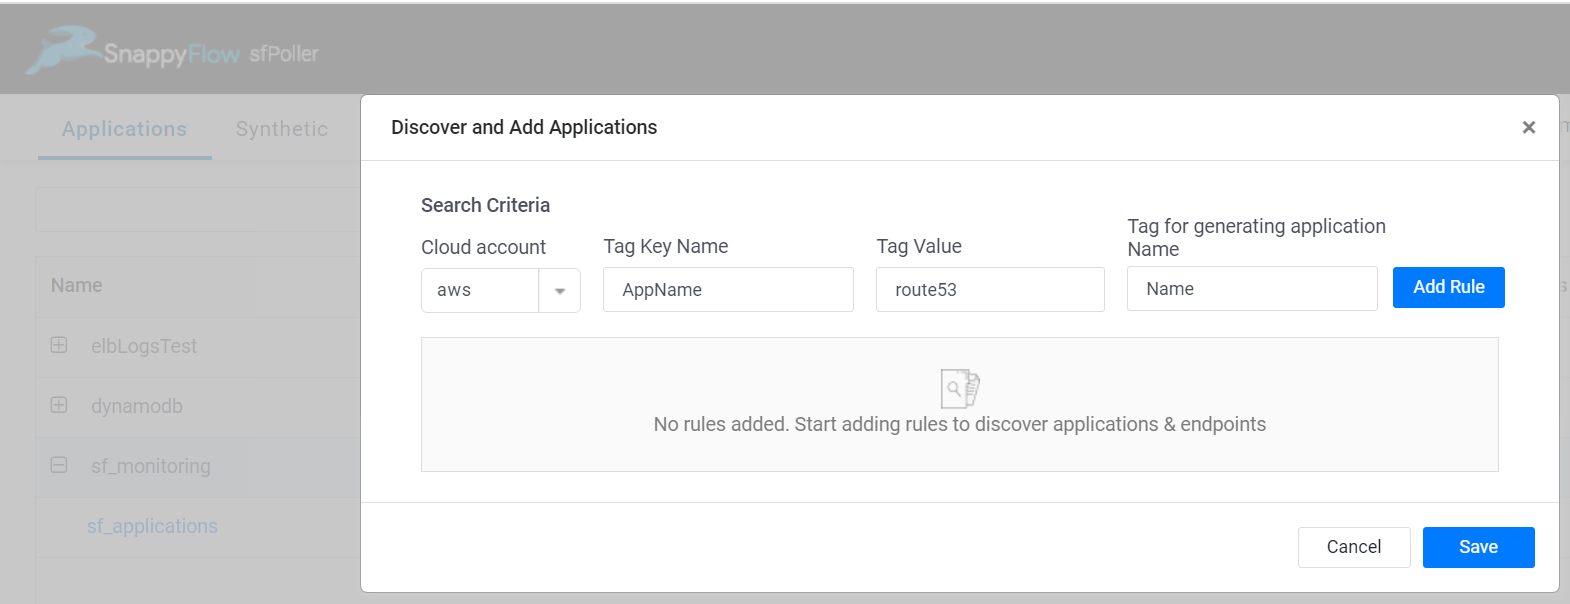
Select the
Add Rulebutton.Select the
Discover Endpoints. It automatically discovers the endpoint related to the tags.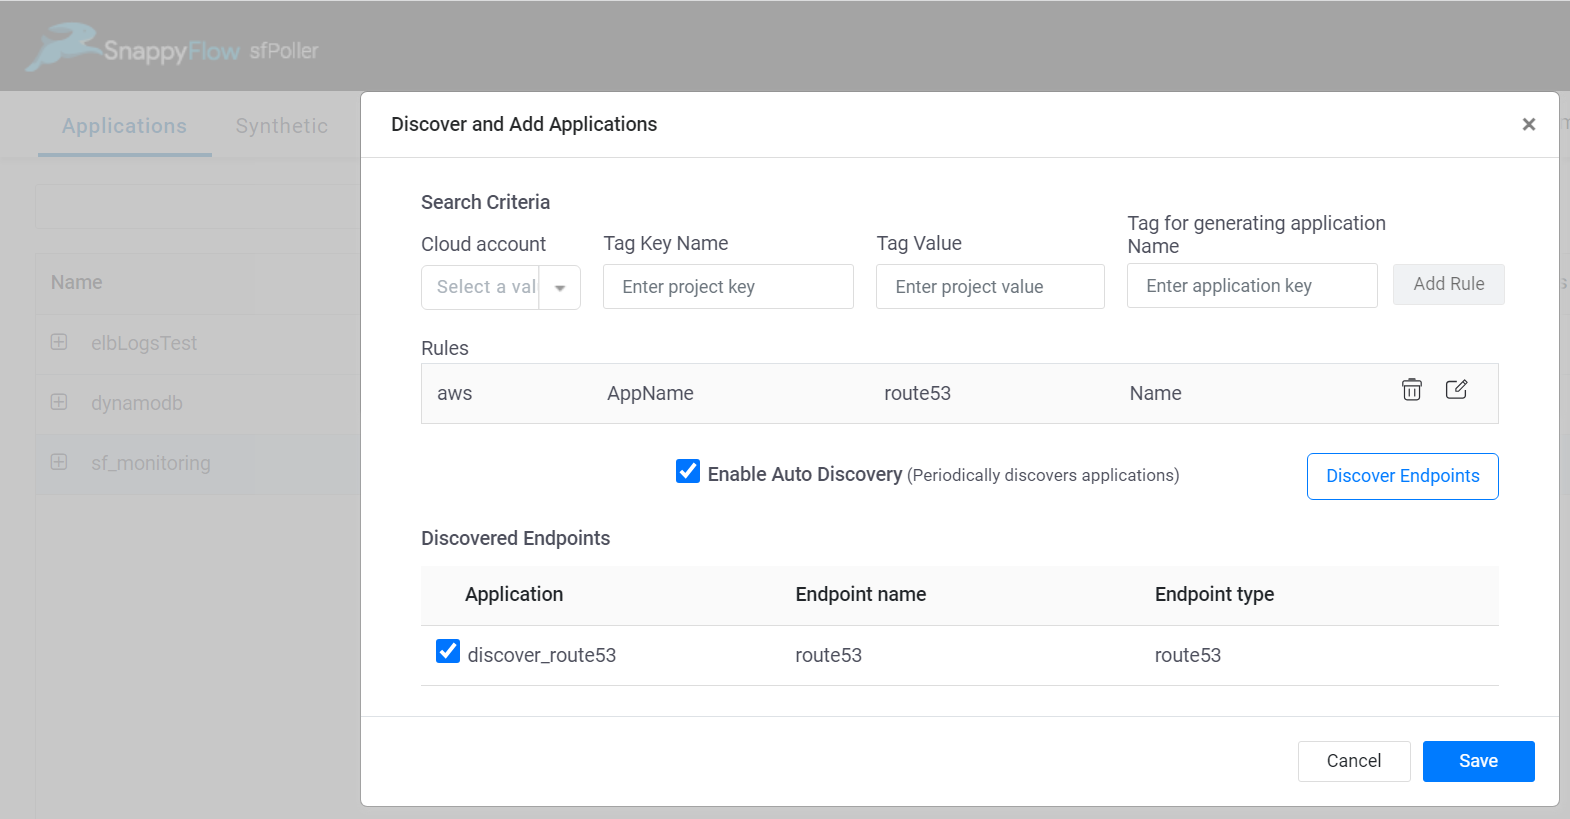
Review all the details and click the
Savebutton.Select the Global
Savebutton to save all the changes done within sfPoller.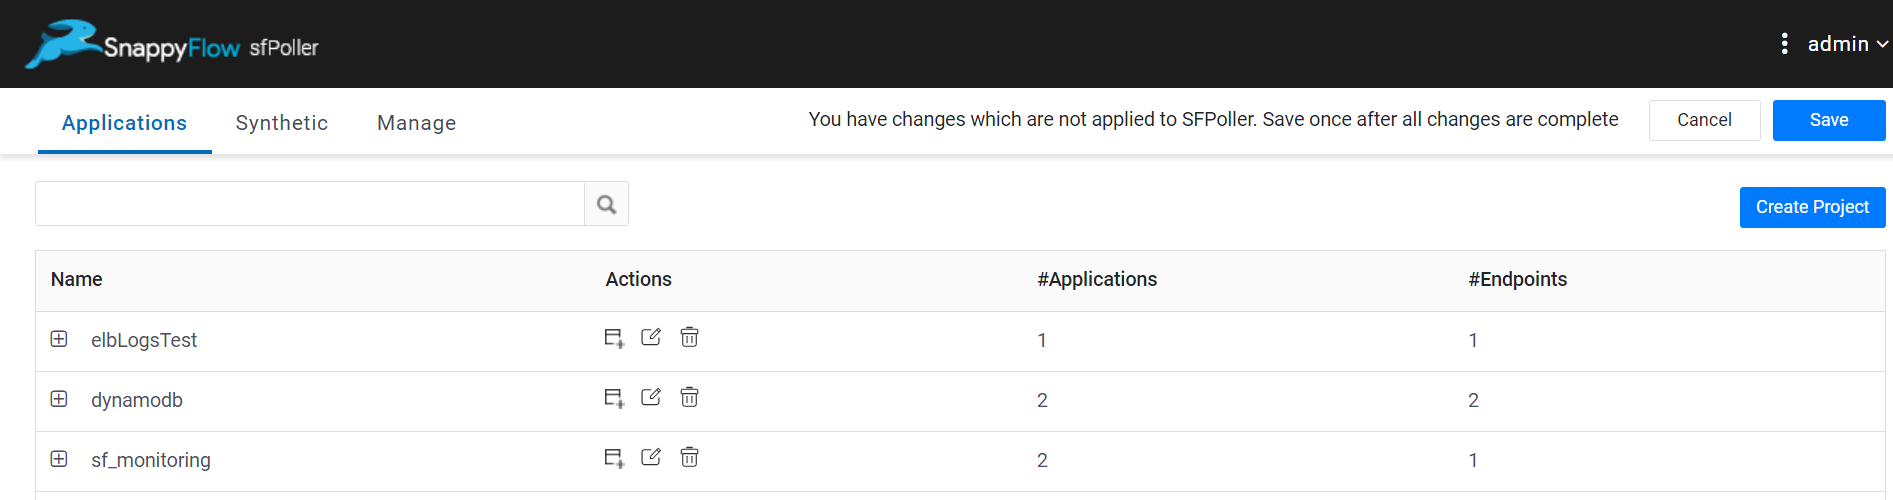
The Discover method allows you to bypass the manual addition of endpoints and plugins.
After configuring the sfPoller, the Project and Application will become accessible within the SnappyFlow account that is synchronized with the sfPoller.