User Access Management
Overview
SnappyFlow utilizes Role-based access control (RBAC) to streamline the user access management. Snappyflow offers four distinct types of roles, where each role has different set of access permissions. By assigning a role to an users, the access level to of the user towards the profile, project and application can be controlled.
Profile Admin: Profile Admin role has permission to Read Project, Create/Delete Project, Edit Project, View Profile, Edit Profile and Add User.
Basic: Basic role has permission to Read Project.
Advance: Advance role has permissions to Read Project, Create/Delete Project, Edit Project, View Profile.
None: This role has no access privileges.
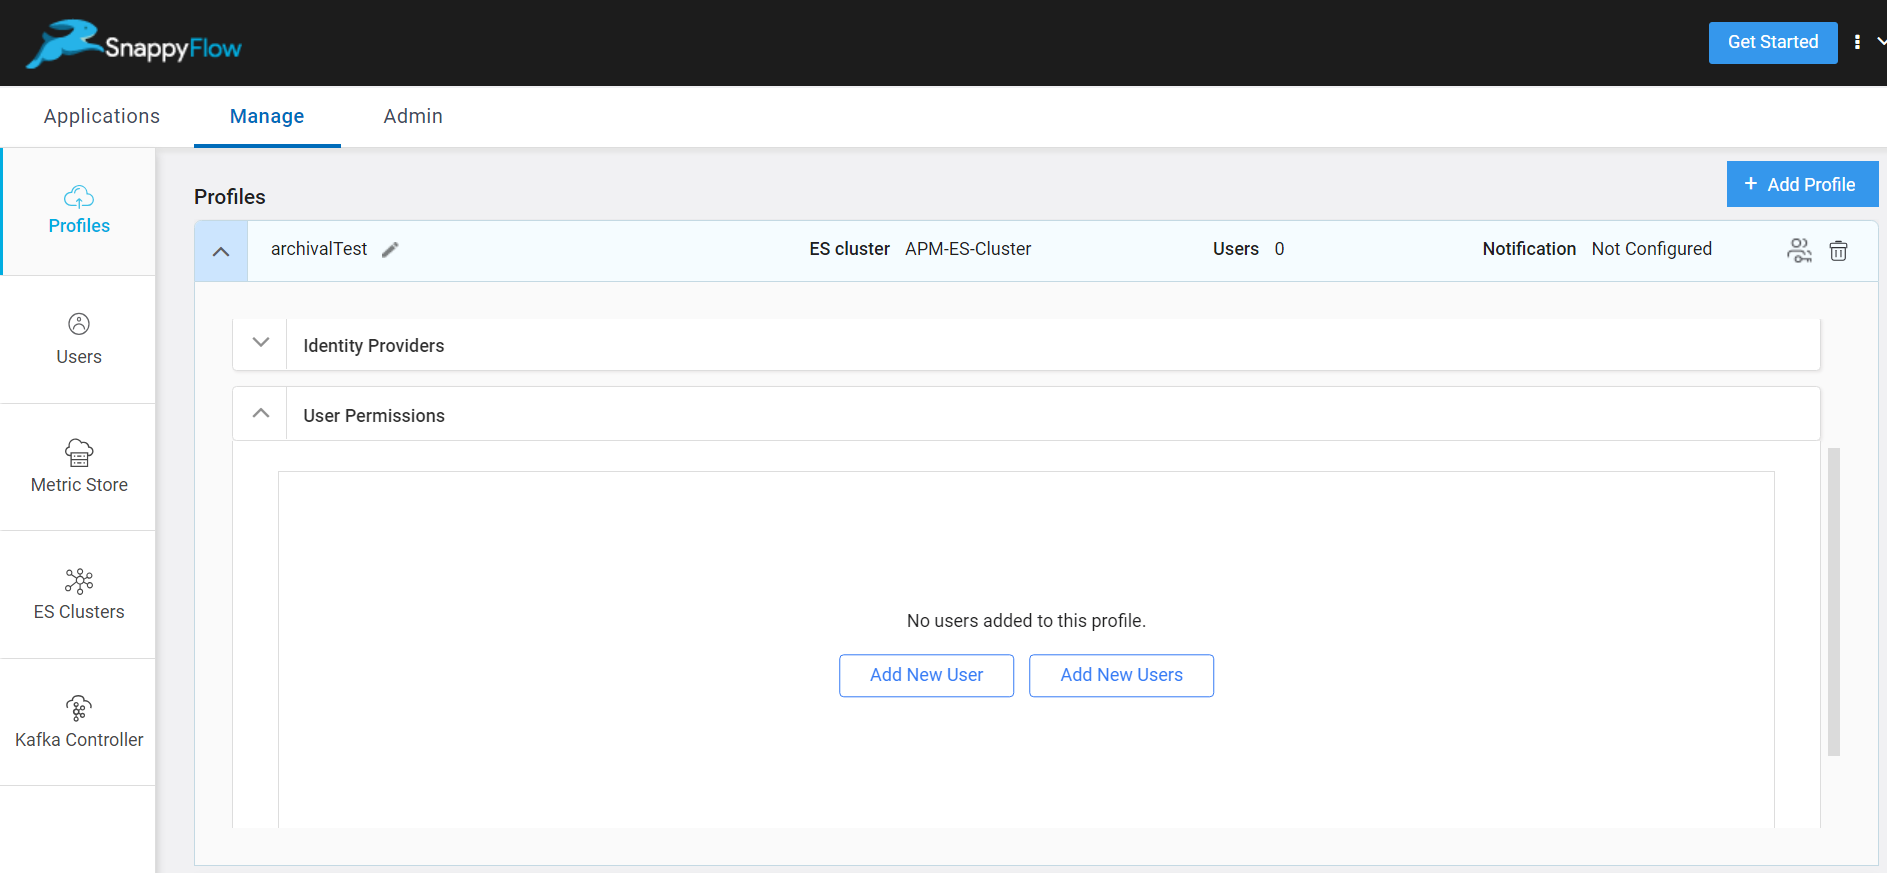
Step 1: Create a Profile
Go to the Manage tab in SnappyFlow.
Select
+ Add Profilebutton.Give a name to the Profile.
Add Metric Store Details as required.
Add user as required.
Only the users added through the user section will reflect here. Click here to know how to add user(s) to SnappyFlow.
- Select the
Savebutton to add the profile.
How to Add User(s)?
Only Snappyflow account admin has the permission to add user(s) to the account.
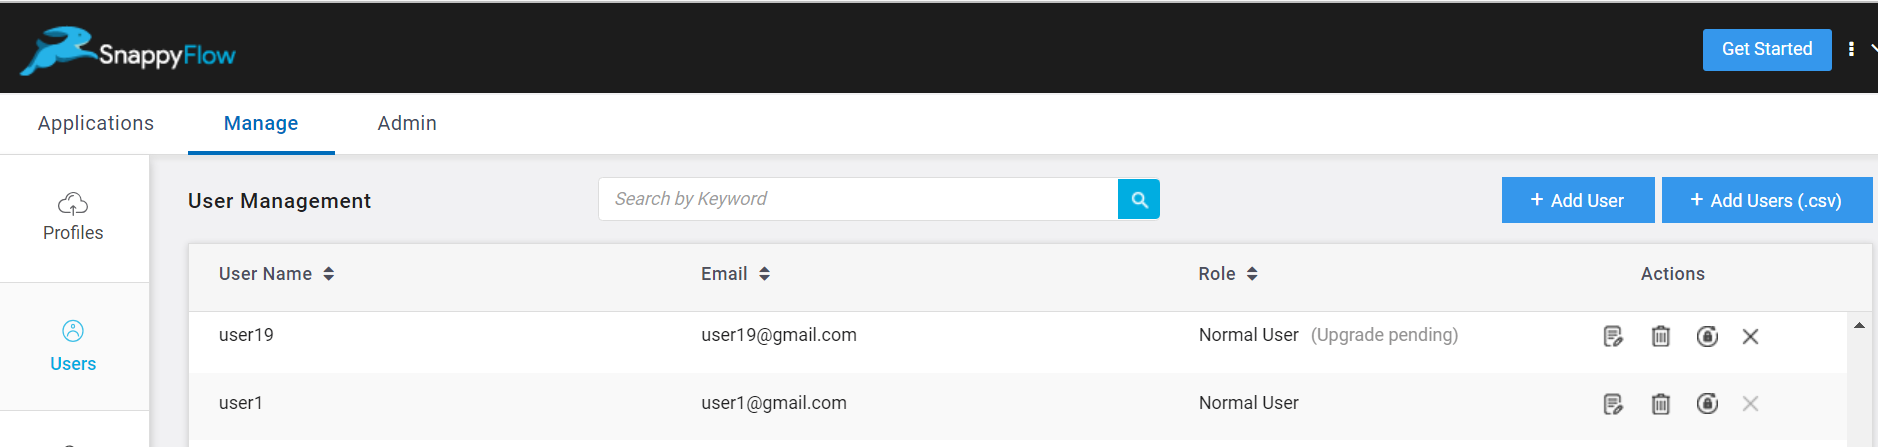
- Go to the Manage tab in SnappyFlow.
- Navigate to the Users tab.
- Click the
+Add Userbutton in the User Management window. - In the Add User window, add the following details:
- Name
- Click the
Savebutton. - Password will be generated. Share the password with the user to access SnappyFlow.
- To add multiple user at a time, click the
Add Users (.csv)button.- In the Add User(.csv) window, upload a
.csvfile with the list of users - Click the
Addbutton.
- In the Add User(.csv) window, upload a
Except the profile admin, all the users added here will be considered as Normal users and their role will be determined at the Profile Level. Until their role is determined at the profile level, they will not be granted access to view any data in SnappyFlow.
Manage User Access - Profile Level
Only profile admin has the permission to add user(s) to the profile.
Single user
Go to the Manage tab in SnappyFlow.
Navigate to Profiles > Profile > User Permissions section.
In the User Permissions window, click the
Add Newbutton.Select a user and the respective role.
Click the
Savebutton to save the changes.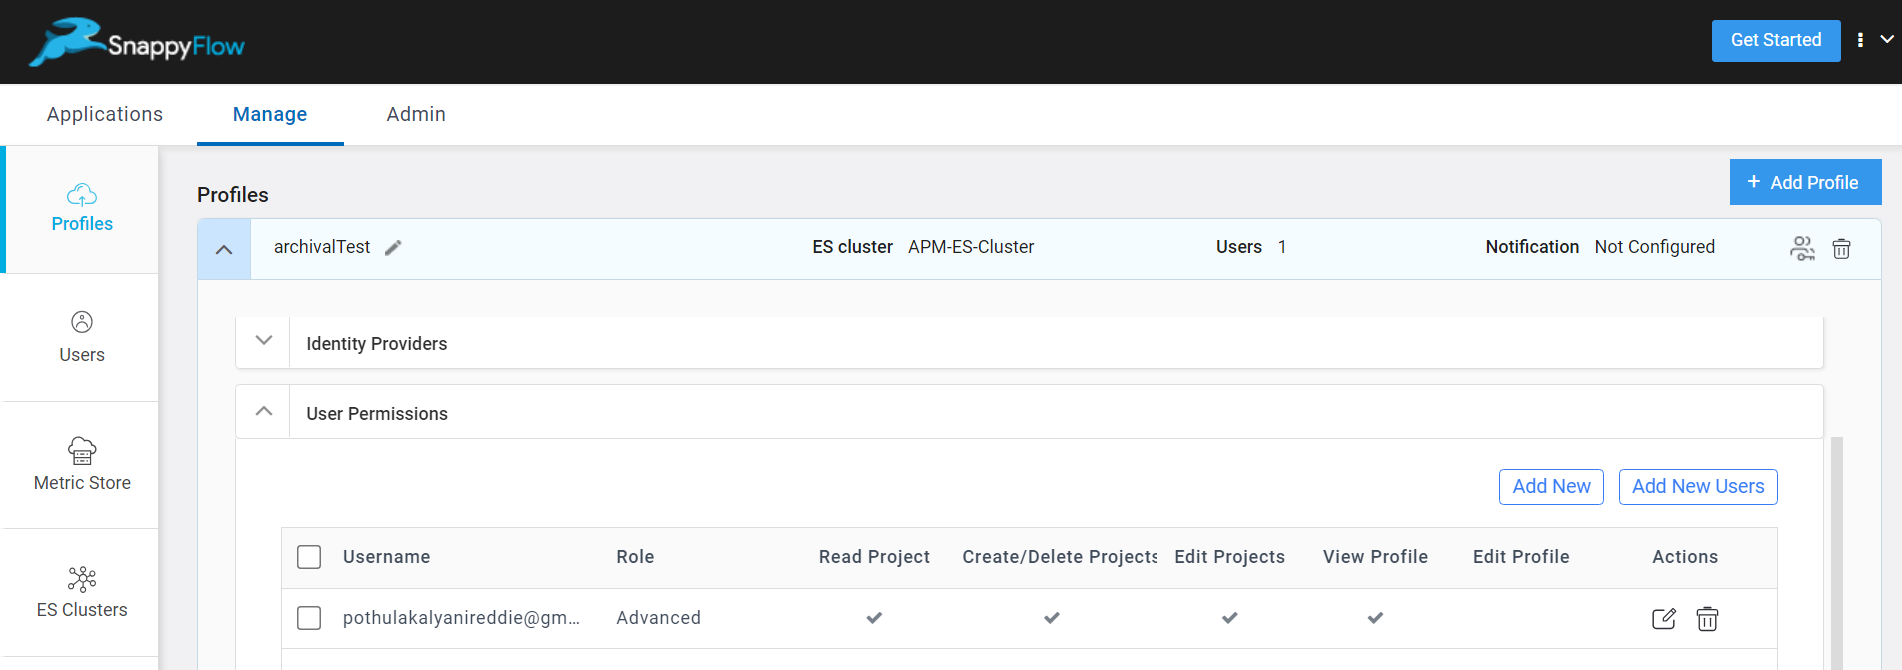
A table with the user, role and the respective access will be generated. The Action column has the options to edit and delete the user.
Multiple Users
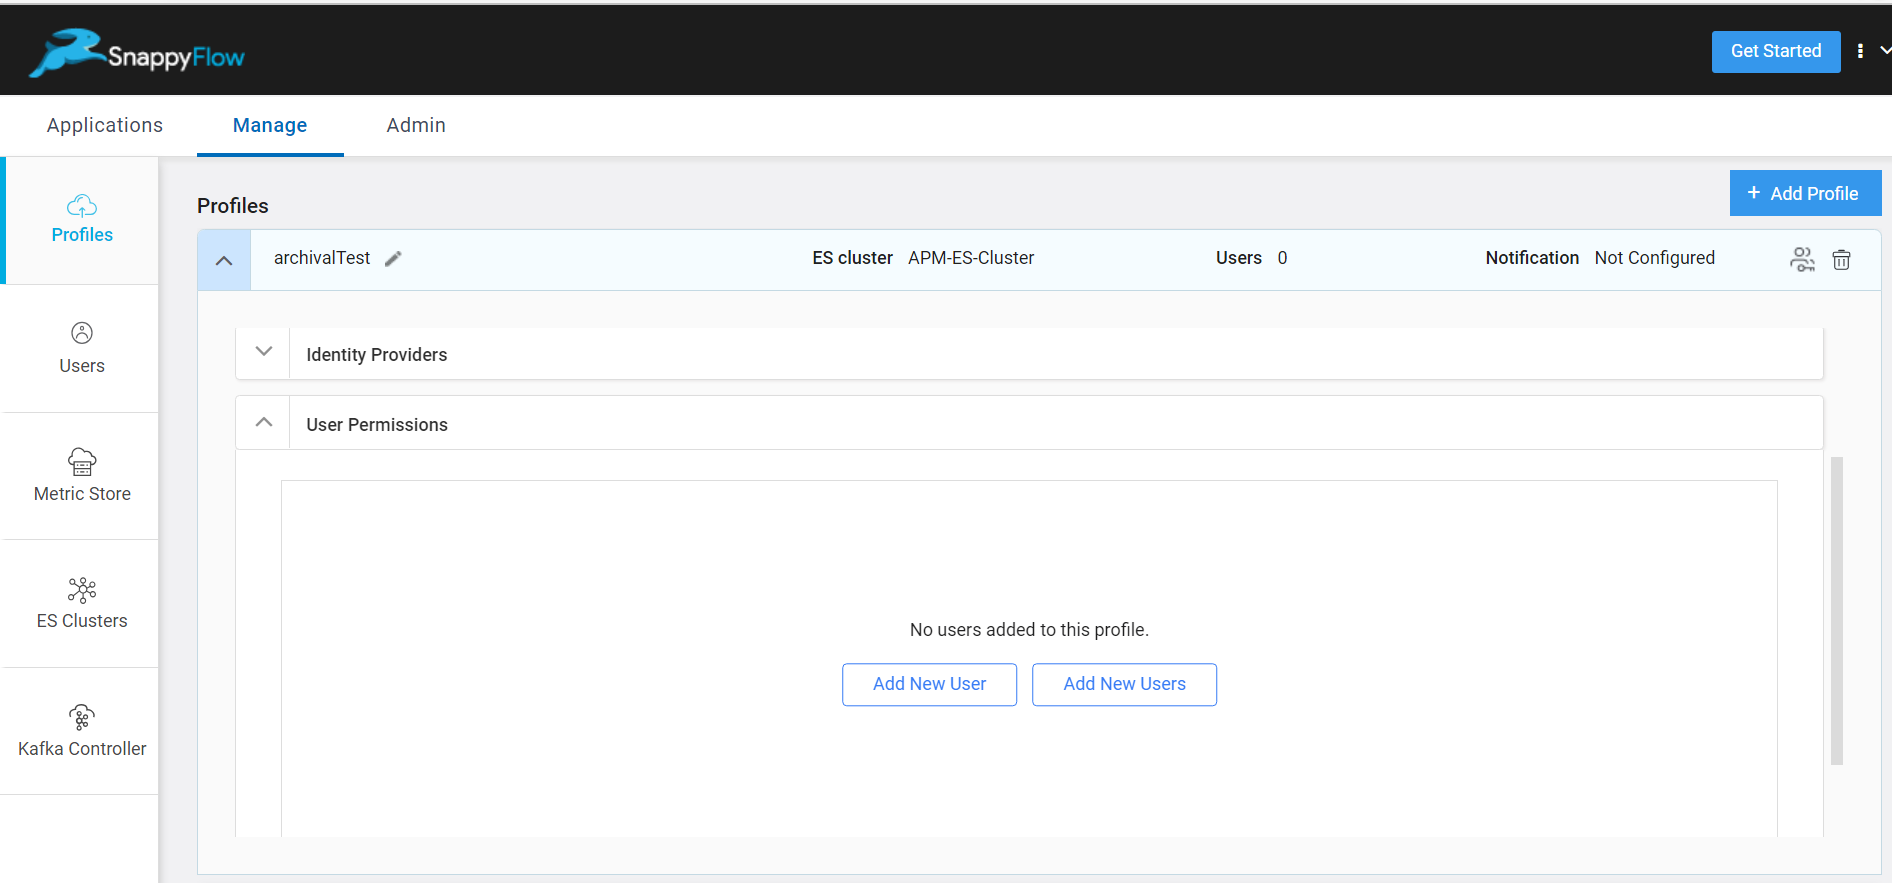
In the User Permissions window, click the
Add New Usersbutton. User list will pop up.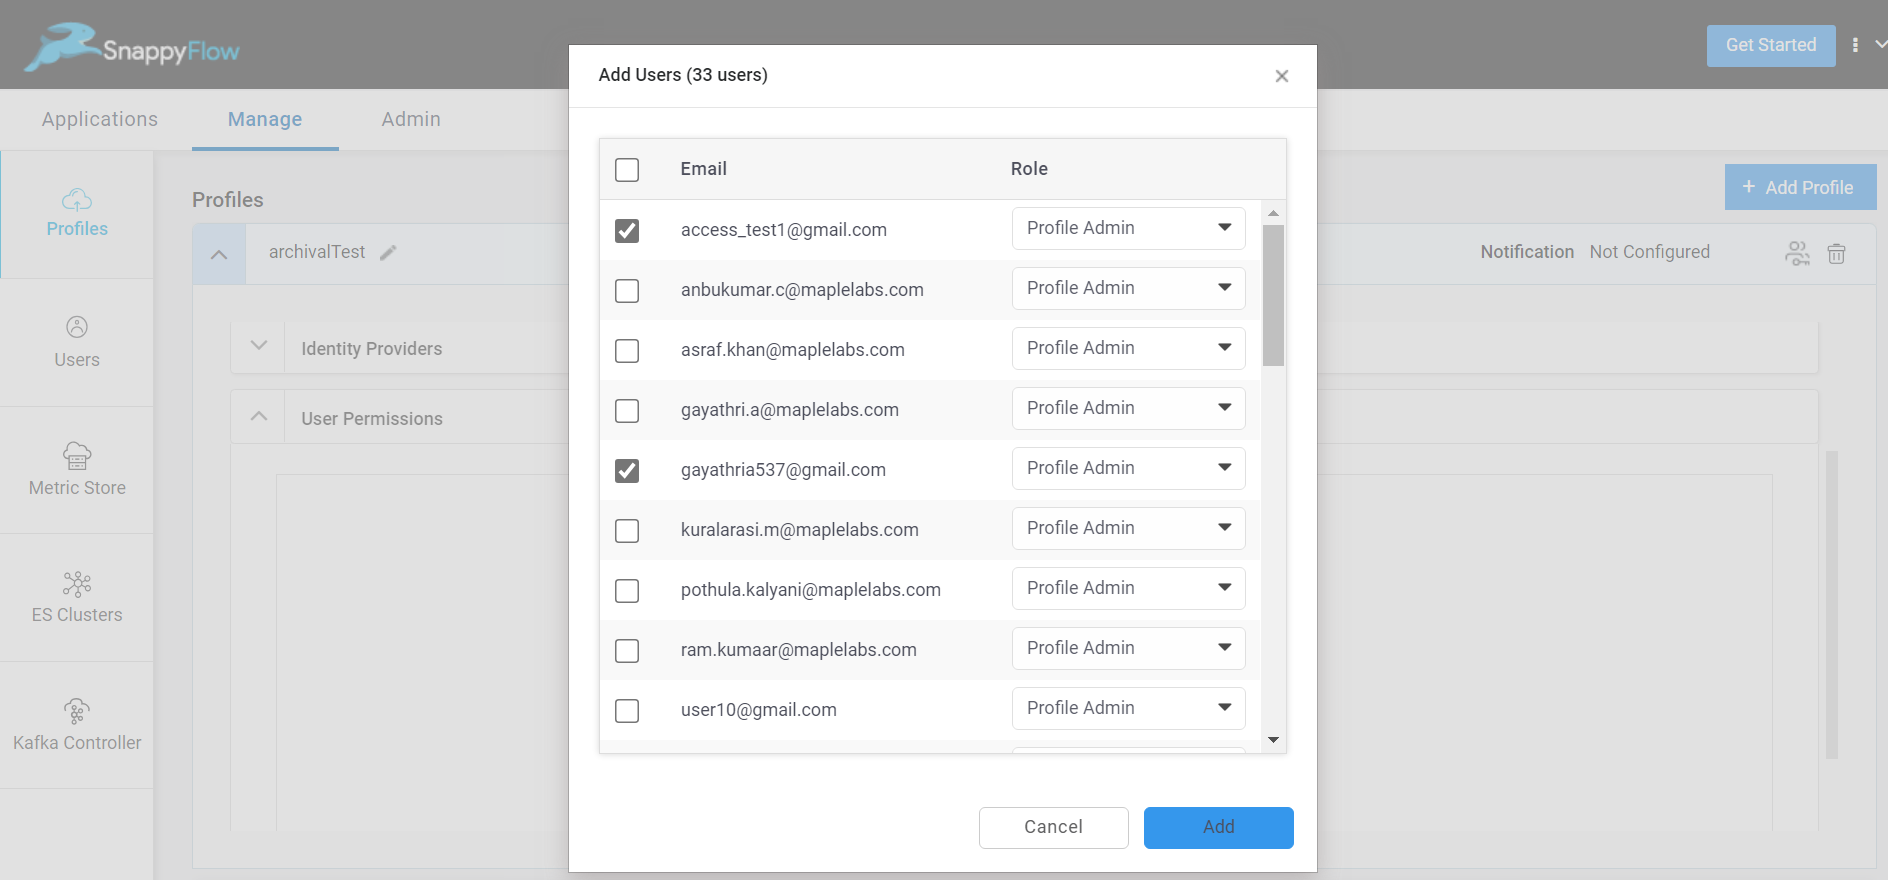
Select users and their Role.
Click on the
Addbutton to add the selected users to the profile.A table with the list of users, their role and their respective access will be generated. The Action column has the options to edit and delete the user.
To delete multiple users:
- Select the users, a
Deletebutton will pop-up - Click the
Deletebutton - In the Revoke Profile Permissions window, select
Yes - The selected user will be deleted
- Select the users, a
Manage User Access - Project Level
Go to the Applications tab in SnappyFlow and navigate to Project.
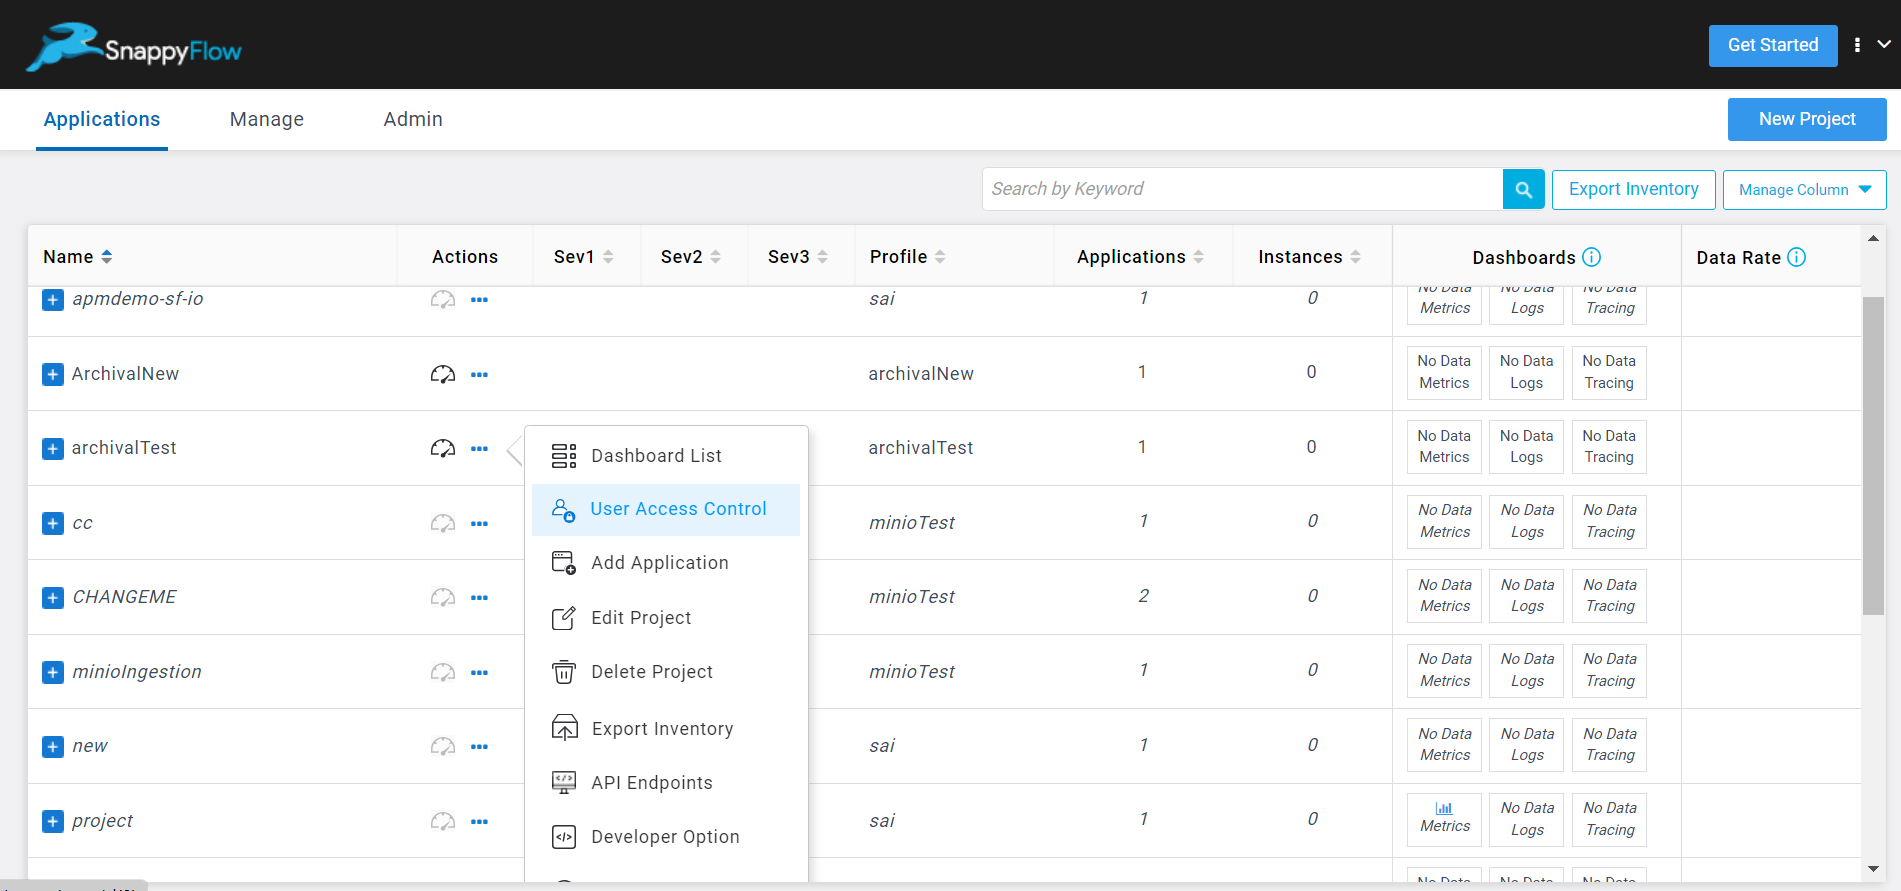
Click the
...project menu icon, and selectUser access controloption.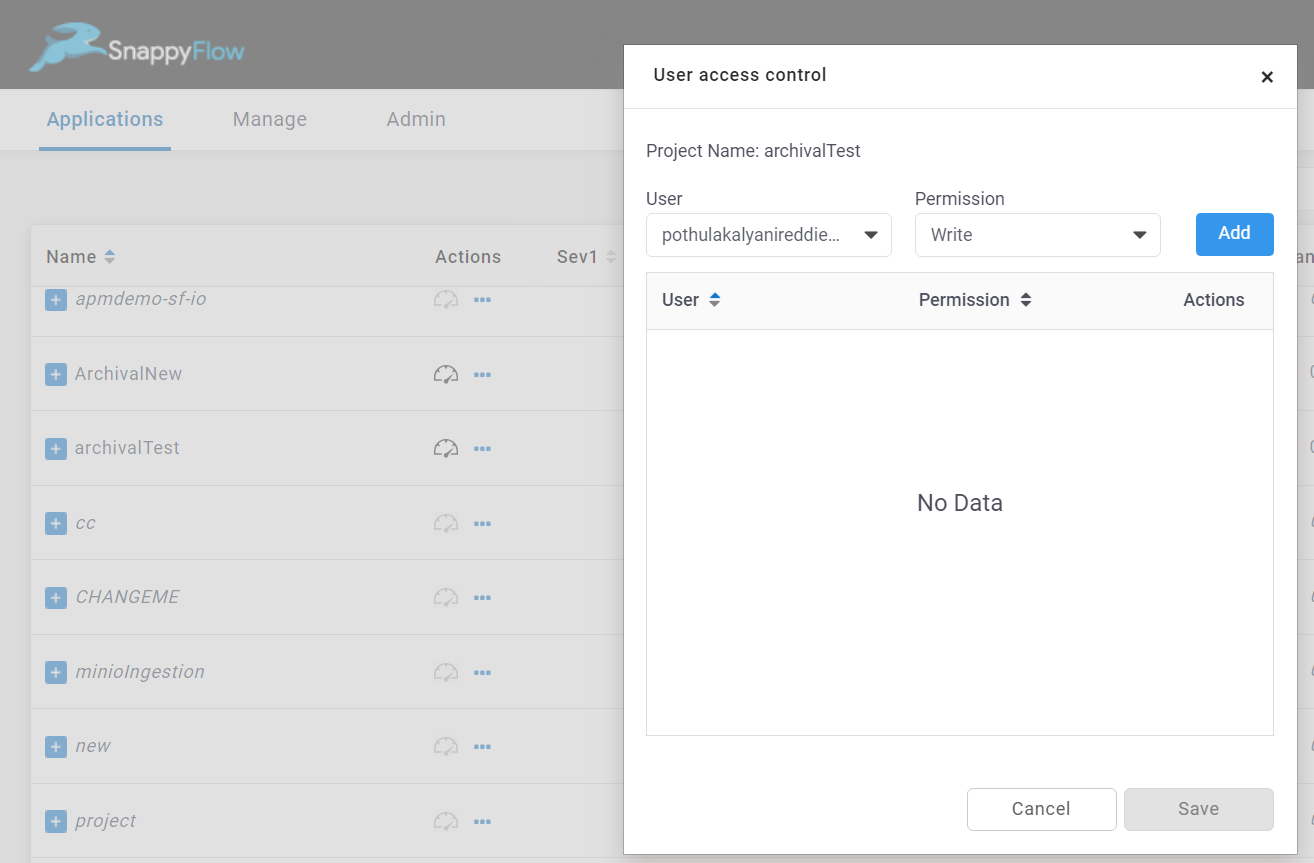
In the User access control window, select a user and set permission (Read, write, Deny).
- Read - The user can view the particular project's dashboard
- Write - The user can edit the particular project's dashboard
- Deny - The user cannot access the project's dashboard
The list will only include user(s) added at the profile level.
Click the
Addbutton to add the user.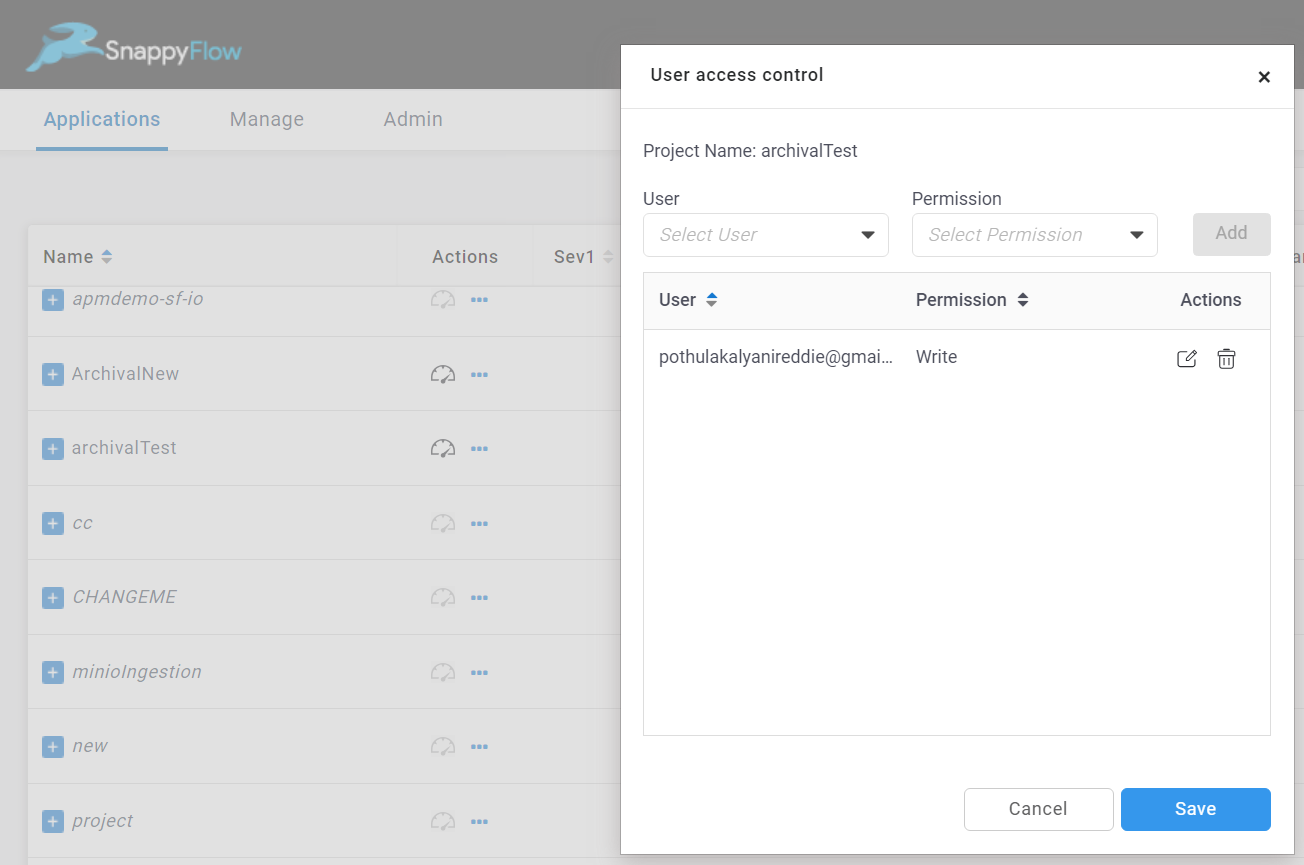
Click the
Savebutton to save the changes.
Manage User Access - Application Level

Go to the Applications tab in SnappyFlow and navigate to Project > Application.
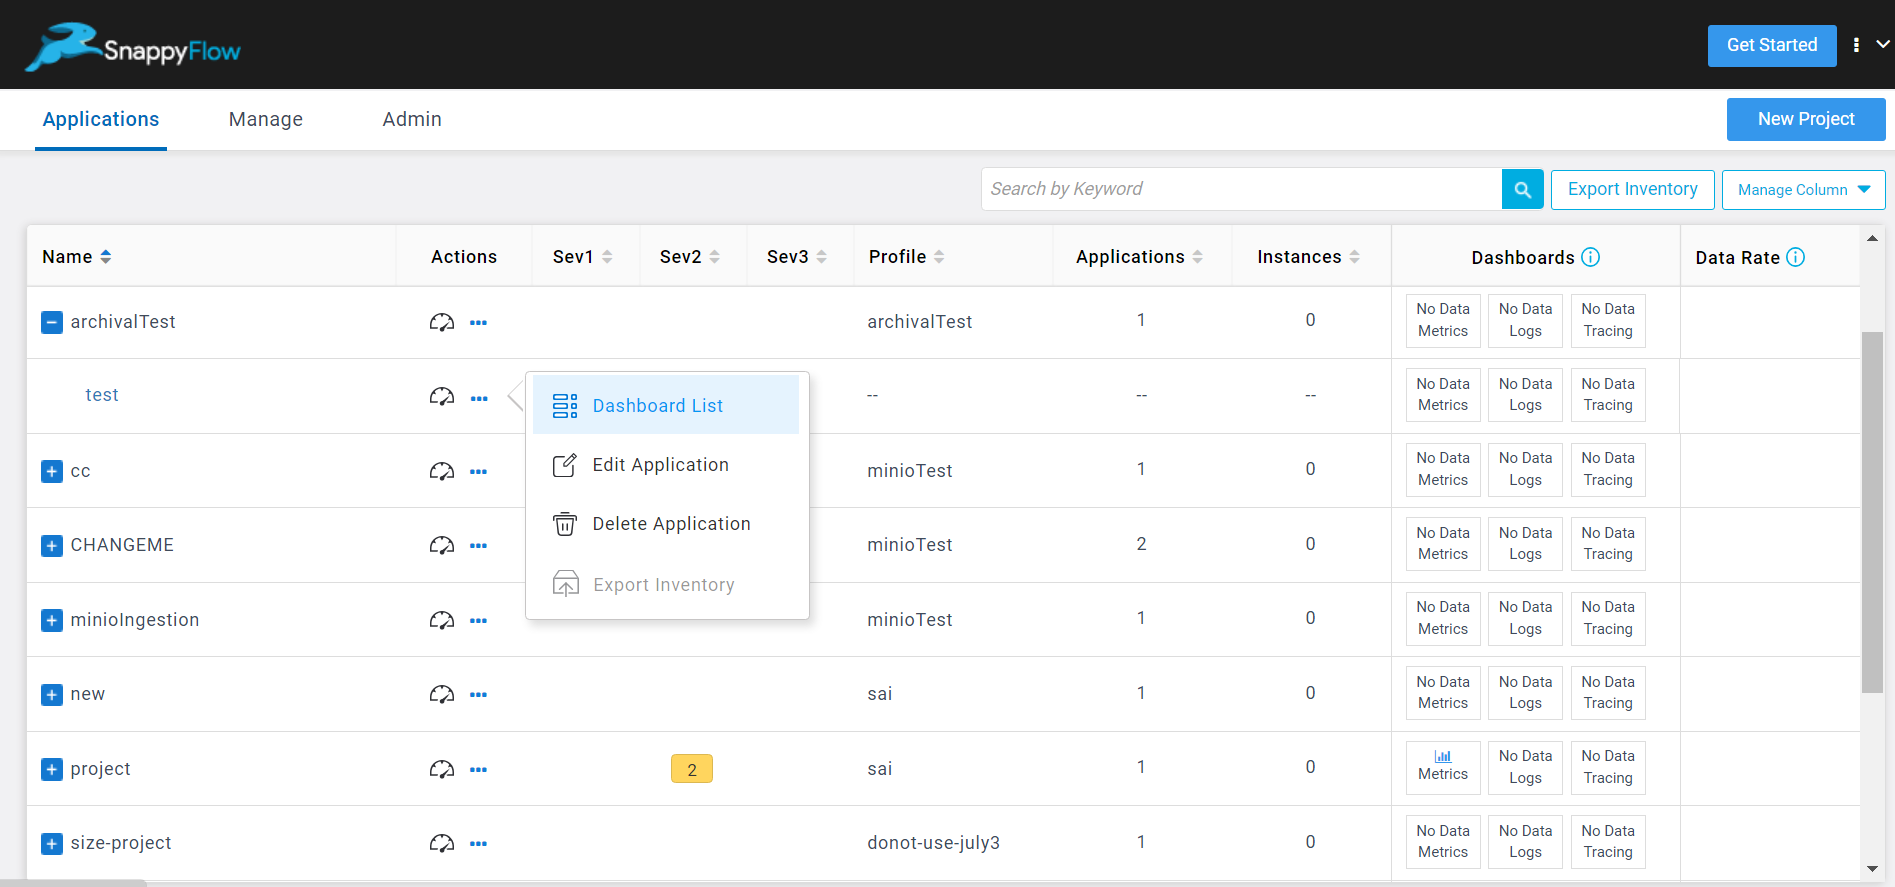
Click the
...application menu icon, and selectDashboard Listoption.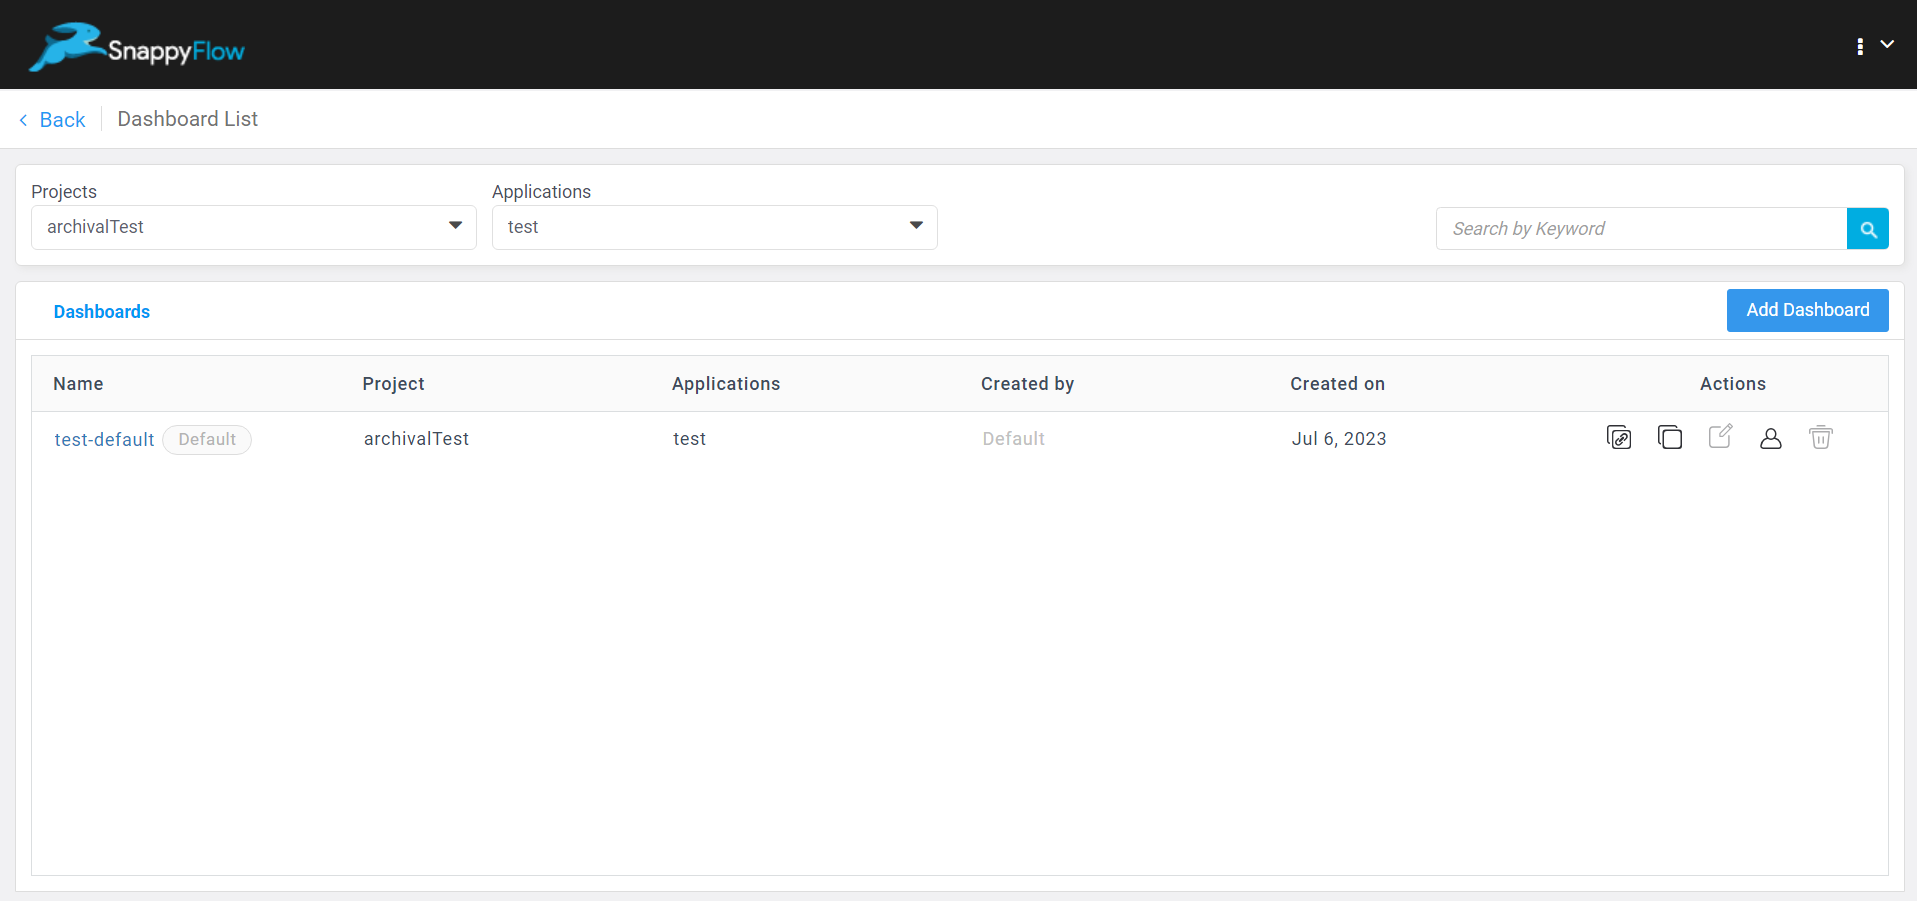
In the Dashboard List window, click the
Usericon.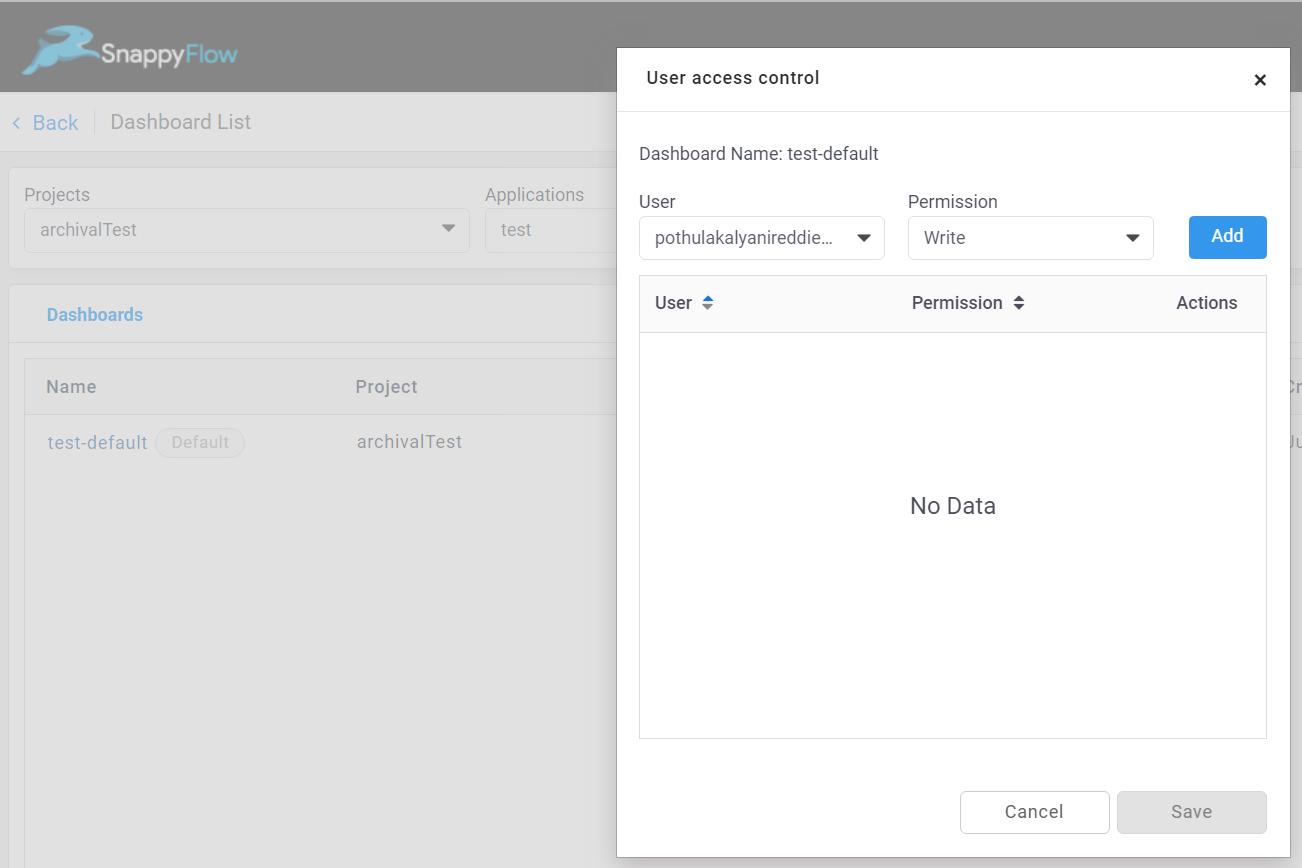
In the User access control window, select a user and set permission (Read, write, Deny).
- Read - The user can view the particular application's dashboard
- Write - The user can edit the particular application's dashboard
- Deny - The user cannot access the application dashboard
The list will only include user(s) added at the profile level.
Click the
Addbutton to add the user.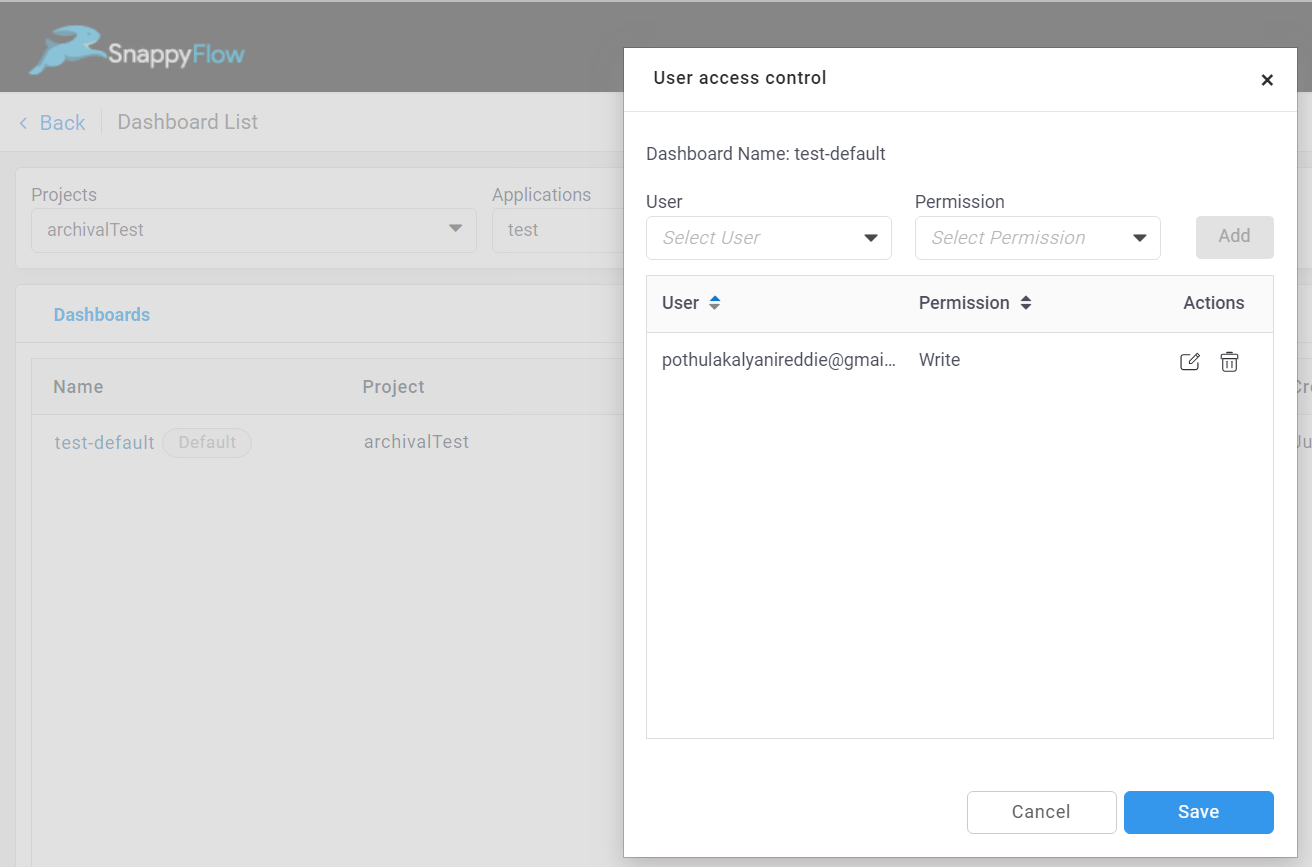
Click the
Savebutton to save the changes.