SnappyFlow sfPoller Setup In AWS
Prerequisites
Create IAM Role:
Sign in to the AWS Management Console and open the IAM console at https://console.aws.amazon.com/iam/
In the navigation pane of the IAM console, click Policies, and then click Create policy
In the JSON tab , add policy json:
{
  "Version": "2012-10-17",
  "Statement": [
    {
      "Action": [
        "cloudwatch:Describe*",
        "cloudwatch:Get*",
        "cloudwatch:List*",
        "cloudwatch:GetMetricStatistics*",
        "elasticloadbalancing:Describe*",
        "s3:Get*",
        "s3:List*",
        "rds:Describe*",
        "rds:ListTagsForResource",
        "logs:Get*",
        "logs:Describe*",
        "ecs:Describe*",
        "ecs:List*",
        "pi:*"
      ],
      "Effect": "Allow",
      "Resource": "*"
    }
  ]
}
Click Review Policy
Add a Policy name (must be unique)
(Optional) For description, type a description for the new policy
Click Create Policy
In the navigation pane of the IAM console, click Roles, and then click Create role
For Select type of trusted entity, click AWS service
For click the use case for your service, click EC2
Click Next: Permissions
Search for the policy created in step 3. Select the check box next to that policy.
Click Next: Review
- Add a Role name (must be unique)
- (Optional) For Role description, type a description for the new role
- Review the role and then click Create role
References: https://docs.aws.amazon.com/IAM/latest/UserGuide/id_roles_create_for-service.html
Create AWS Security Group
Open the Amazon EC2 console at https://console.aws.amazon.com/ec2/.
Go to Network & Security section and select
Security Groups.In the Security Groups page, select
Create security groupbutton.In the Create security group window, add the following in the Basic details section:
- Security group name
- Description
For VPC, click the VPC in which to create the security group. The security group can only be used in the VPC in which it is created
Then go to Inbound rules section and add security group rules as shown below:
Type Protocol Port Source Description HTTP TCP 80 0.0.0.0,::/0 sfPoller http HTTPS TCP 443 0.0.0.0,::/0 sfPoller https SSH TCP 22 0.0.0.0,::/0 sfPoller ssh Select the
Create Security groupbutton to save the created security group.
Define Source as per user's requirements. Use anywhere if sfPoller has to be accessed from multiple locations. Use Custom if sfPoller will be used from Office/VPN (also provide IP address).
Be ready with SSH keypair to be used for launching instance.
Click the video icon ![]() to view about sfPoller installation.
to view about sfPoller installation.
Launching sfPoller Instance
Open the Amazon EC2 console at https://console.aws.amazon.com/ec2/
In the navigation pane, click Instances
Click Launch Instance
Click on AWS Marketplace and search for SnappyFlow Poller Appliance
Select SnappyFlow sfPoller Appliance AMI
Read SnappyFlow sfPoller Appliance usage policy and detail. Click continue to proceed
Select the instance type (Min Recommended: t2.medium )
Configure instance:
Provide network, subnet and IAM role (IAM role created in prerequisite)
(Optional) Add tags for sfpoller instance
Configure security group:
- Click the security group created in the prerequisite step
- Review changes before clicking launch
Click the SSH key pair and launch
Wait till the instance state goes to ready and then open the launched instance on EC2 panel. Copy Public DNS (IPv4) from instance description in AWS console
Paste Public DNS (IPv4) of the launched instance to the browser and open the sfPoller Launcher.
Enter username: admin and password: instanceID of launched instance and login to sfPoller
Note: Instance ID can be copied from instance description (as used in step 7).
sfPoller installation is complete now
Configure sfPoller
Profile Key
The profile key is used to Synchronize your SnappyFlow account with sfPoller.
Go to the Manage tab of SnappyFlow and select the
Profile Keyicon of your Profile.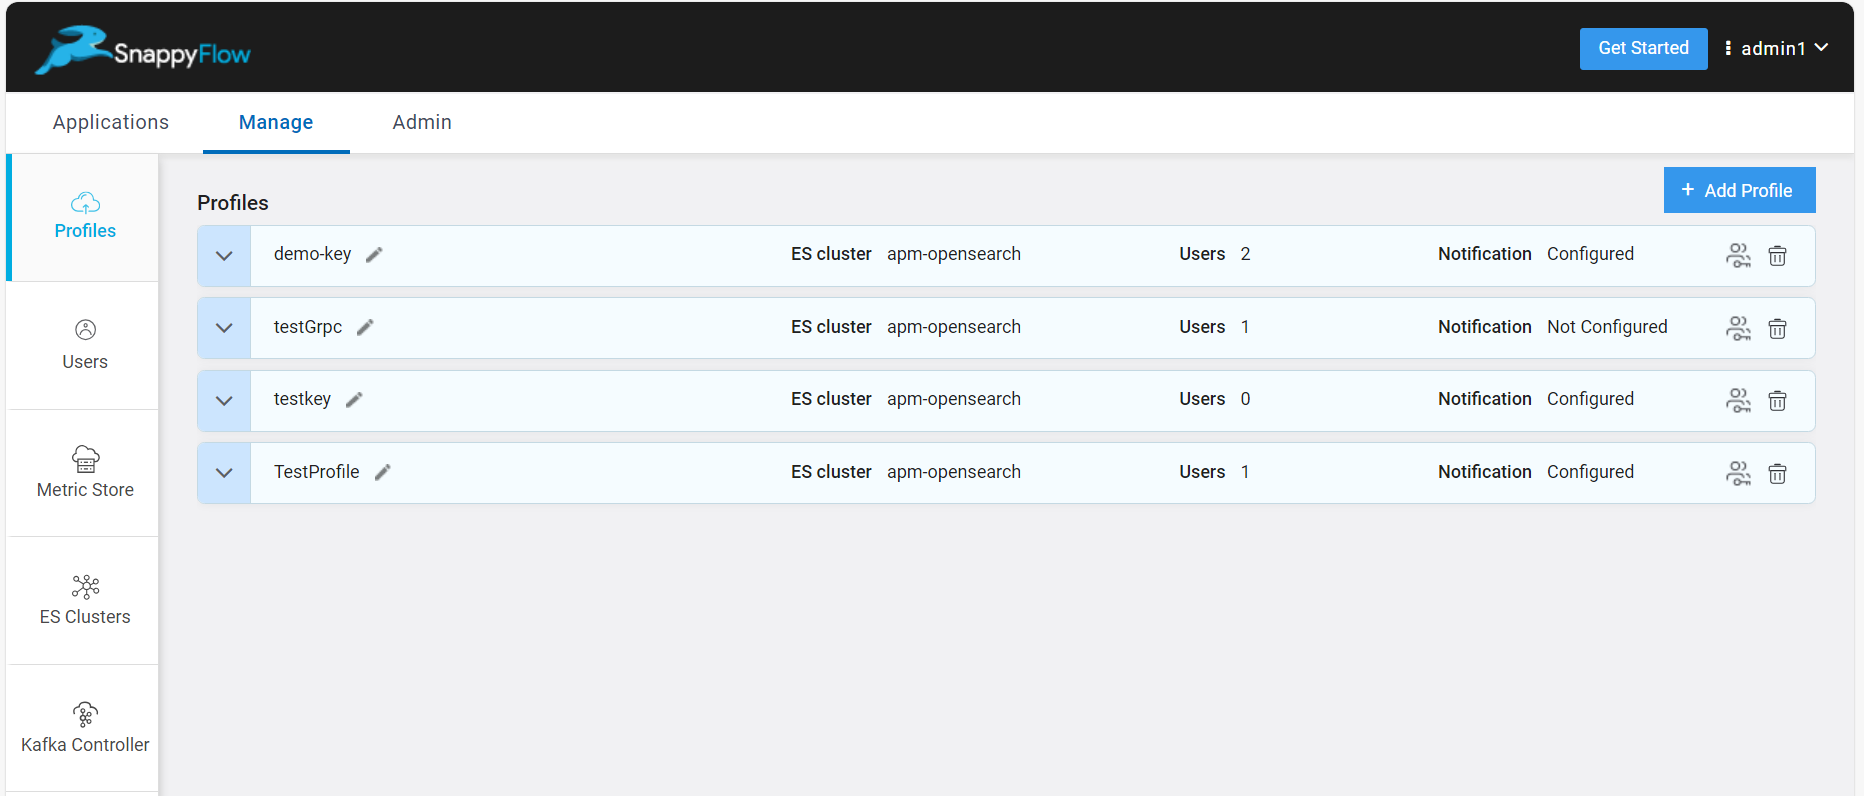
Copy the Profile Key.
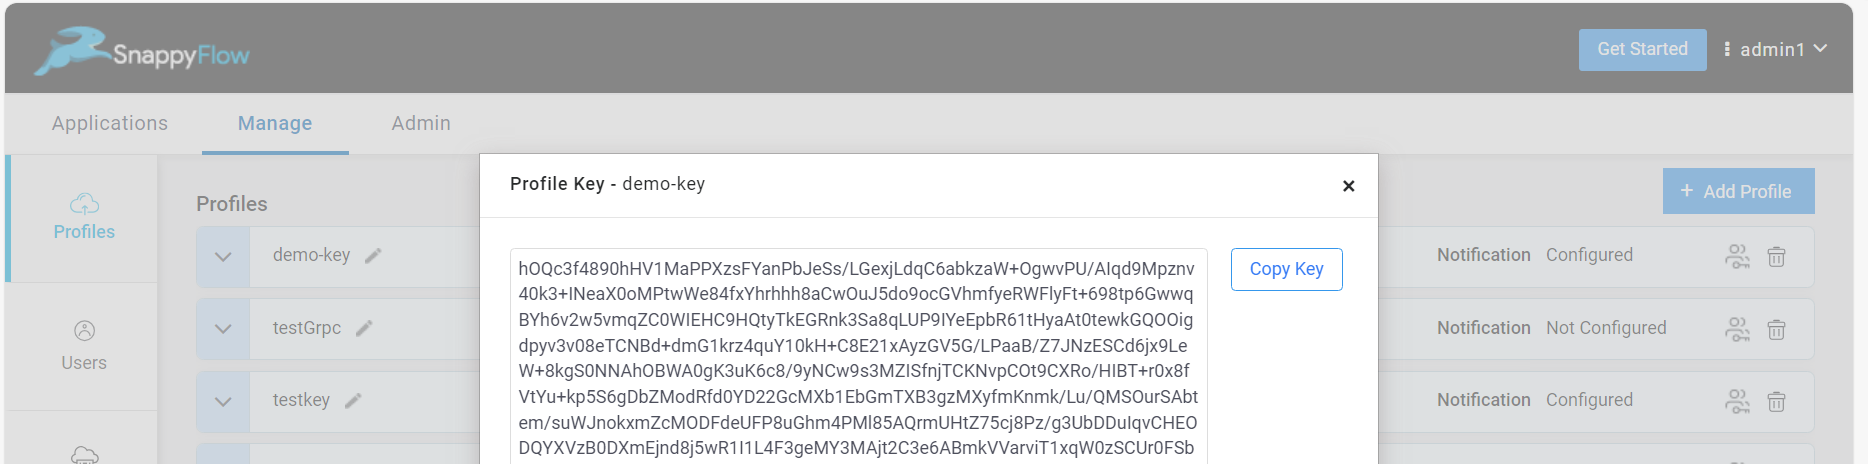
Go the the Manage tab of sfPoller and paste the profile key in the Profile Key section.

Select the
Savebutton.
Add Cloud Account
Follow the below steps to create a Cloud Account in sfPoller.
- Go the the Manage tab > Cloud Account section of sfPoller.
- Select the
Addoption. - In the Add Cloud Account window, select the account type from the drop-down list and fill the following details:
- Name - Give a meaningful name to your cloud account
- Access Key - Access Key provided your cloud service
- Secret Key - Secret Key provided your cloud service
- Token - Token provided your cloud service
- Region - Select a region from the drop-down
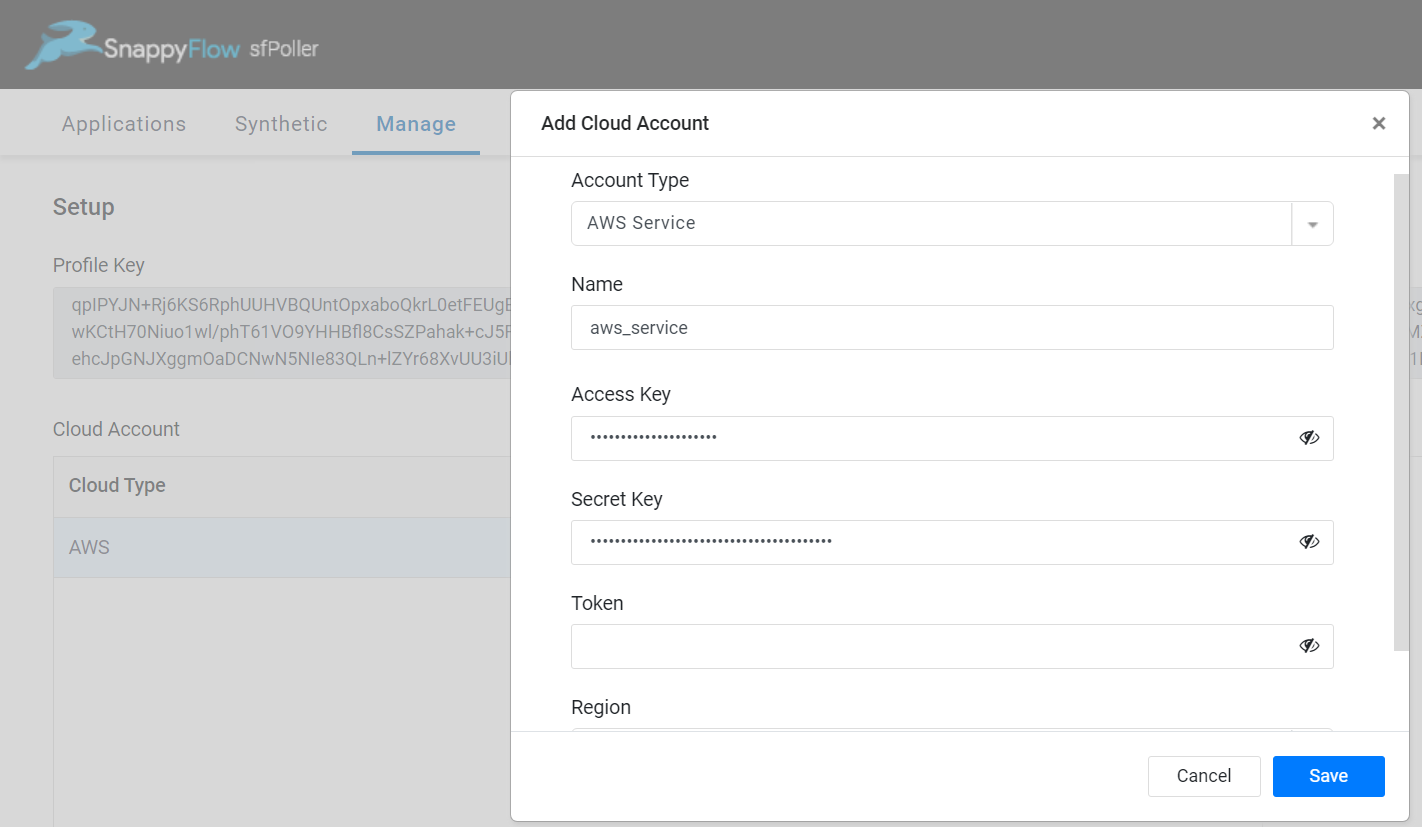
- Select the
Savebutton.
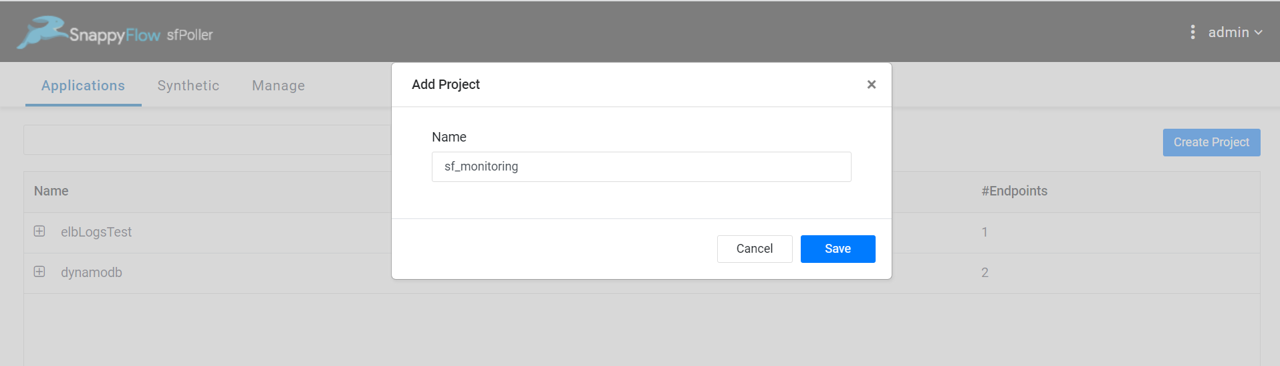
Create Project
Follow the below steps to create a Project in sfPoller.
Go to the Application tab of sfPoller.
Select the
Create Projectbutton.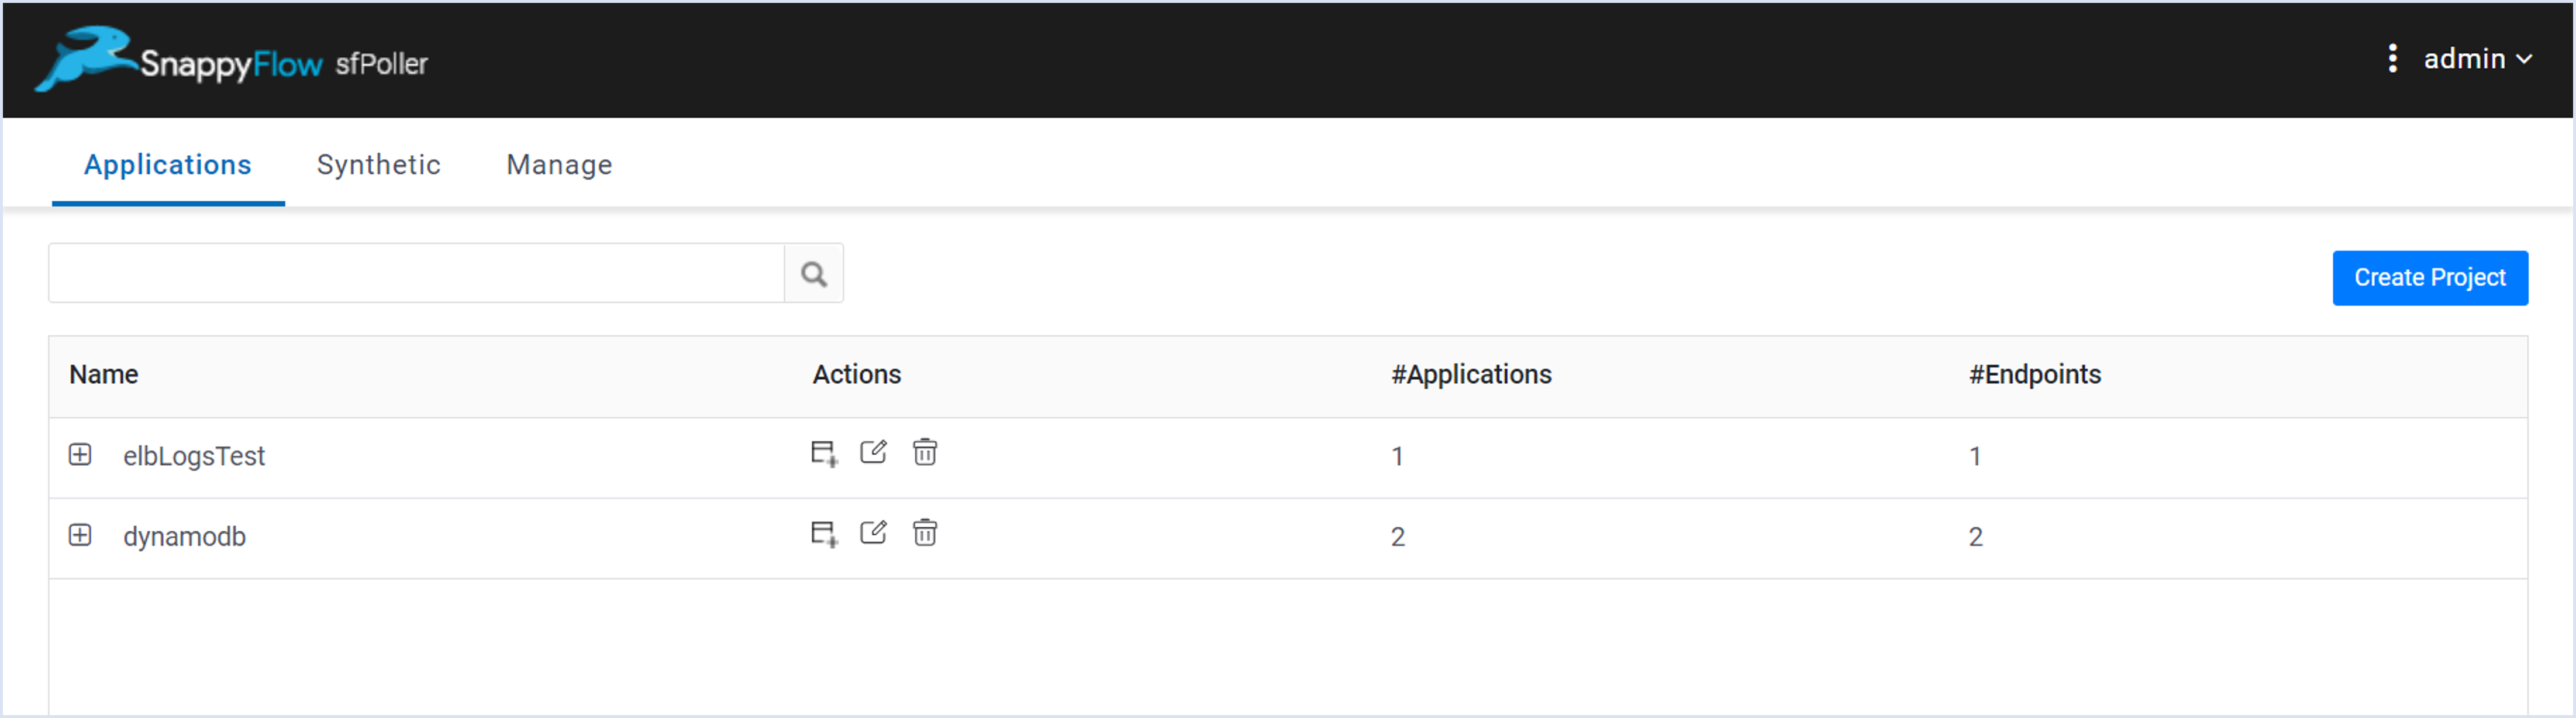
In the Add Project window, give a meaningful project name and save.
Create Application
In sfPoller, there are two ways to create an Application.
- Manual method
- Discover method
Create an Application Using Manual Method
Go to the Application tab of sfPoller.
Navigate to your Project and select the
+add icon in the Action column.In the Add Application window, select
Create Newoption and click theNextbutton.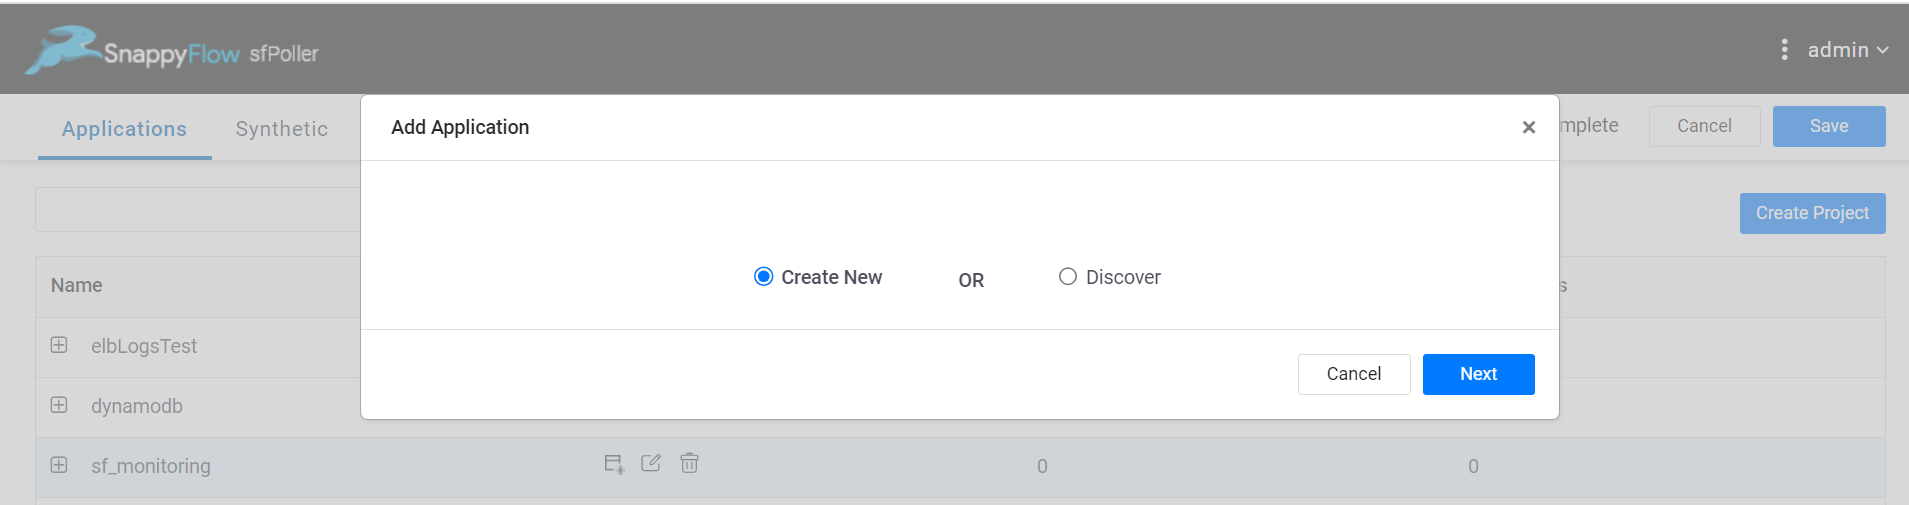
In the Create Application window, give a meaningful name to the application and click the
Savebutton.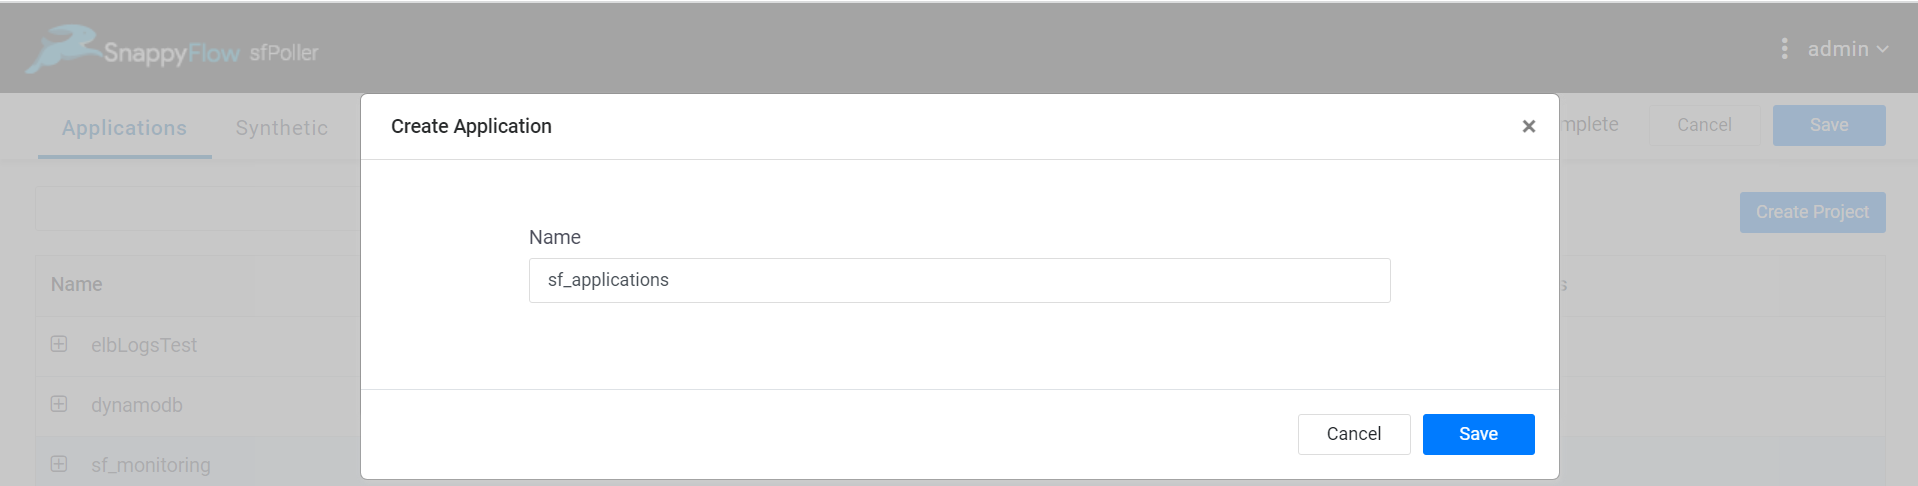
Create an Application Using Discover Method
Go to the Application tab of sfPoller.
Navigate to your Project and select the
+add icon in the Action column.In the Add Application window, select
Discoveroption and click theNextbutton.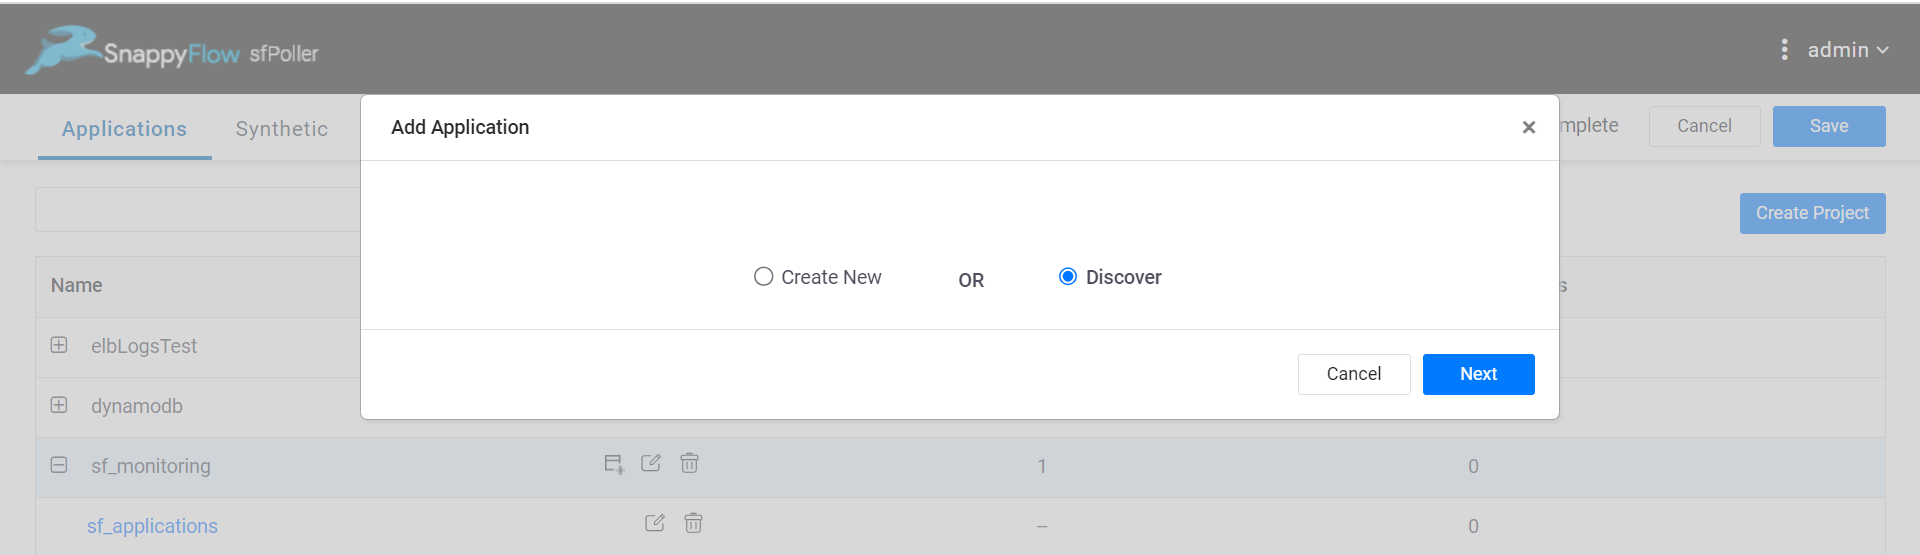
In the Discover and Add Application window, add the following details:
- Cloud account - Select your cloud account from the drop-down list
- Tag Key Name - Key of the tag
- Tag Value - Value of the tag
- Tag for generating application Name - Specify the tag Key, from which the value will be used as the application name.
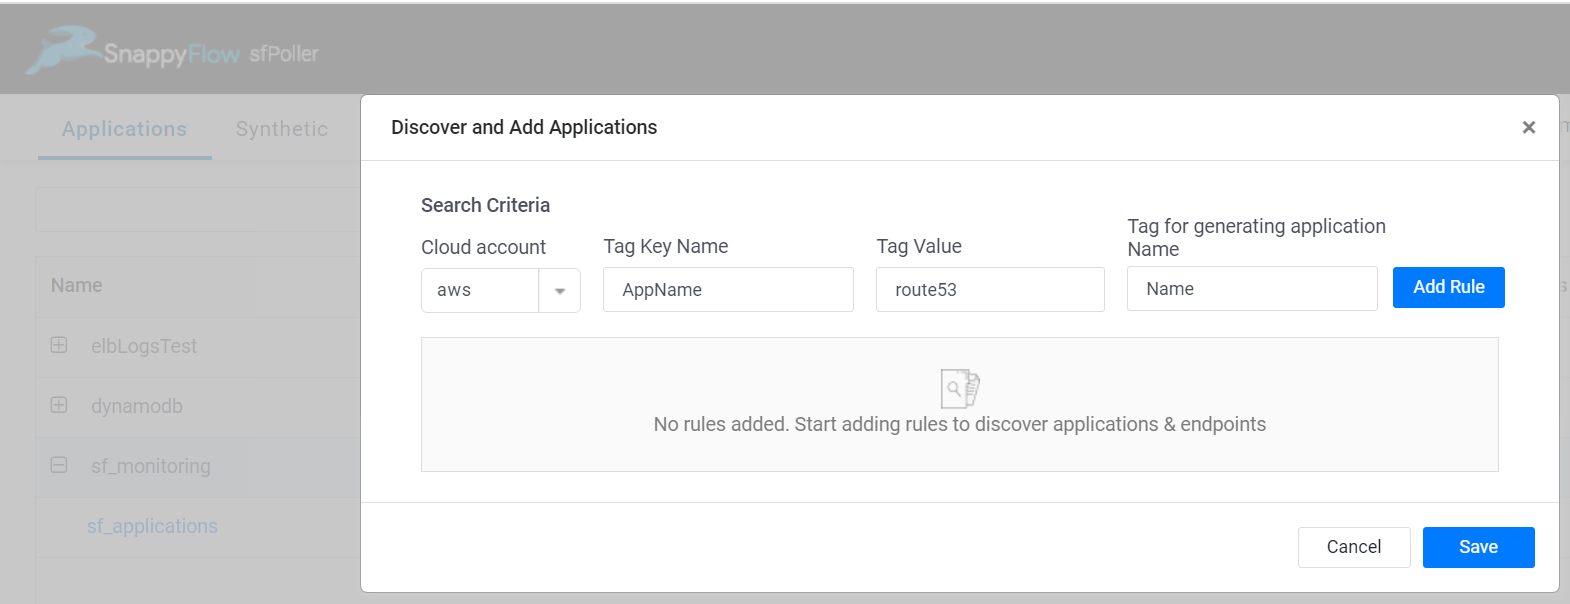
Select the
Add Rulebutton.Select the
Discover Endpoints. It automatically discovers the endpoint related to the tags.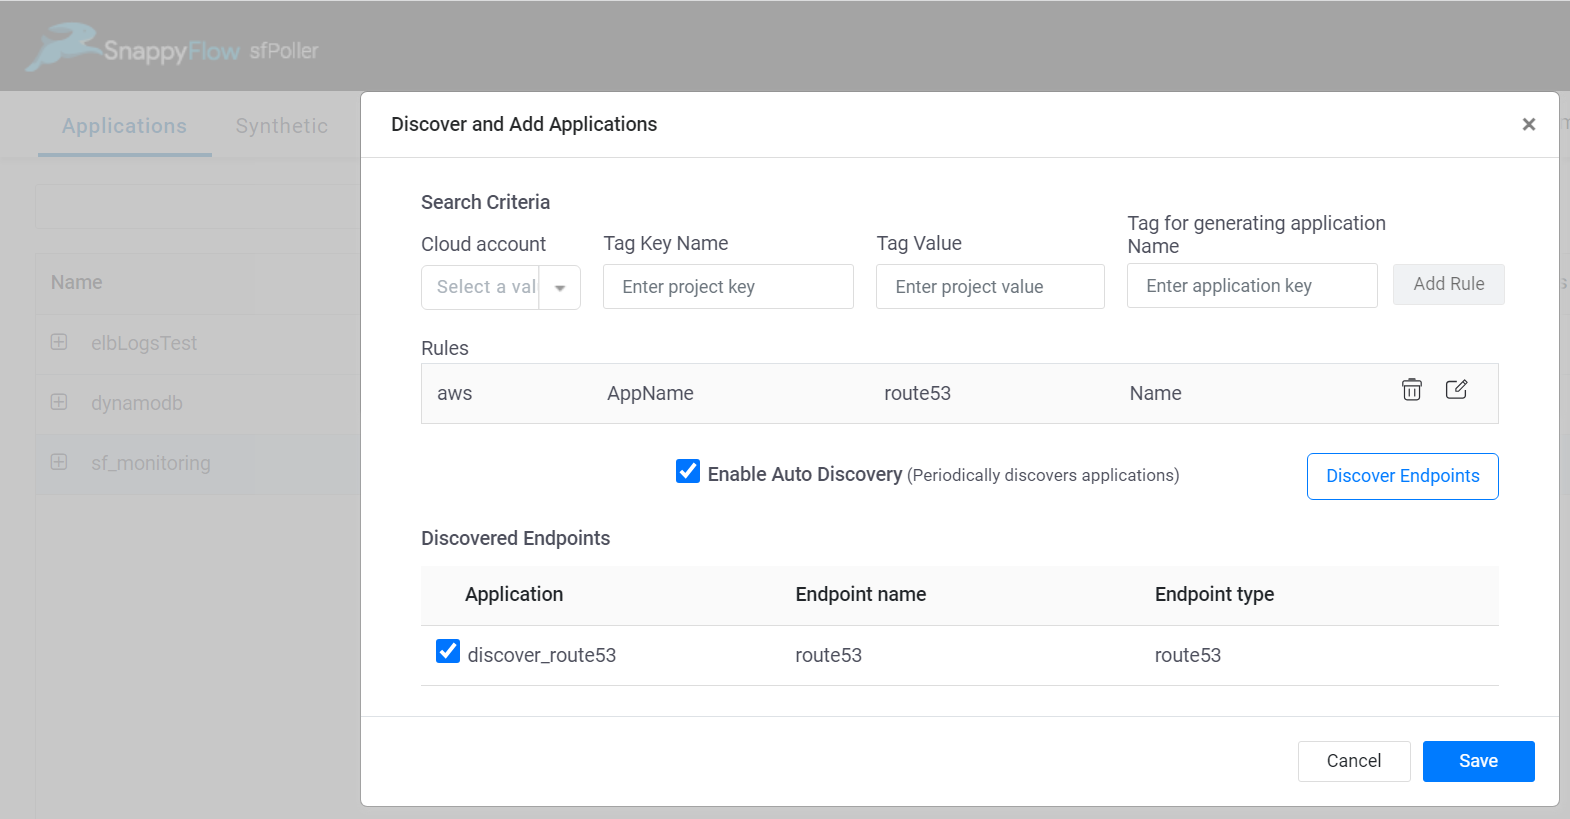
Review all the details and click the
Savebutton.Select the Global
Savebutton to save all the changes done within sfPoller.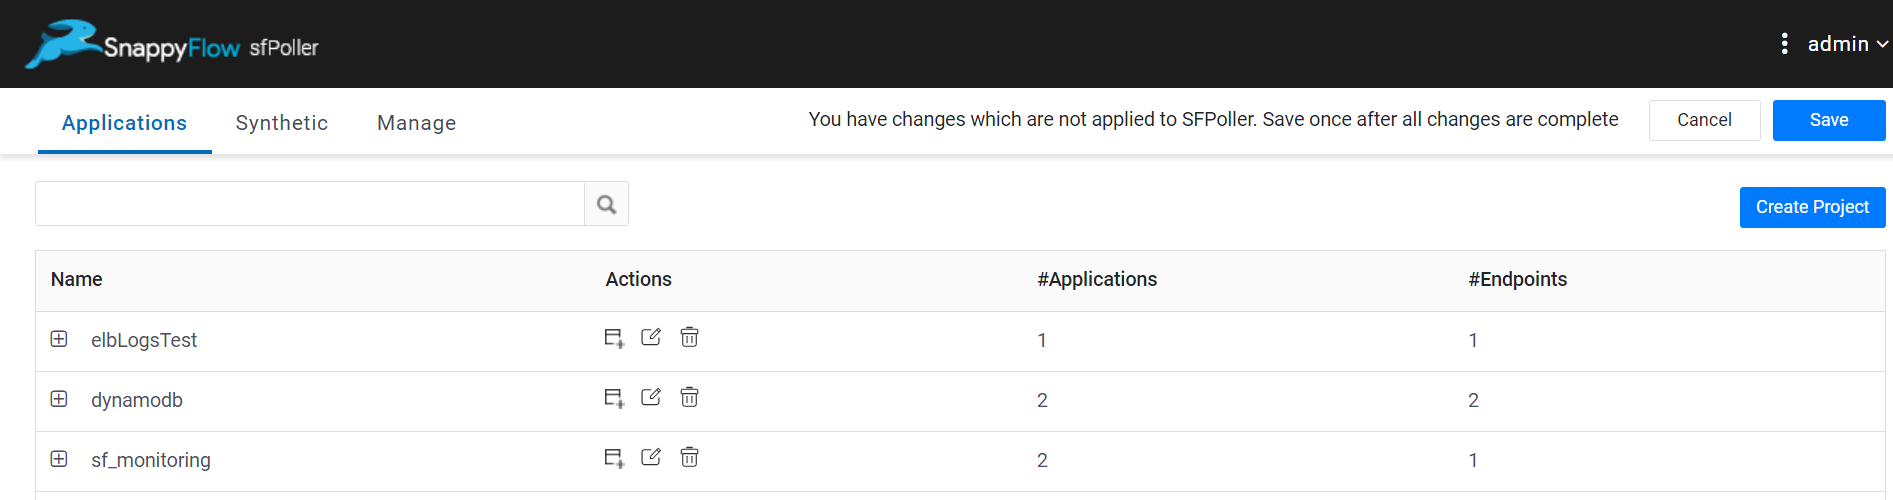
The Discover method allows you to bypass the manual addition of endpoints and plugins.
After configuring the sfPoller, the Project and Application will become accessible within the SnappyFlow account that is synchronized with the sfPoller.