Dashboard Management
Dashboard management refers to creating a new dashboard, editing the dashboard, and controlling the users' permission to the dashboard. Dashboard management involves the tasks of generating a fresh dashboard, modifying an existing dashboard, and regulating user access to the dashboard.
Use Cases
- Generating multiple dashboards for an application.
- Adding users to a dashboard.
- Granting or denying a user access to a dashboard.
Create New Dashboard
Click the
Add Dashboardbutton.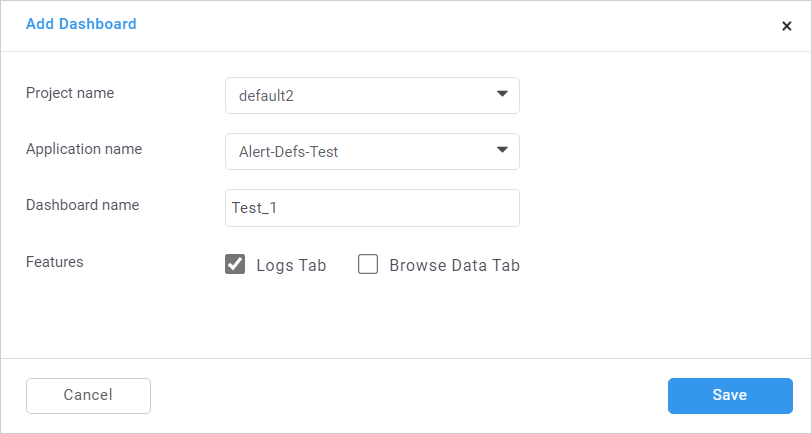
In the Add Dashboard window, select the following details:
a. Project Name- Select the title of the project
b. Application Name- Select the title of the application
c. Dashboard Name- Type a user name
d. Feature- Click the check box of the required feature (Optional)
Click the
Savebutton.
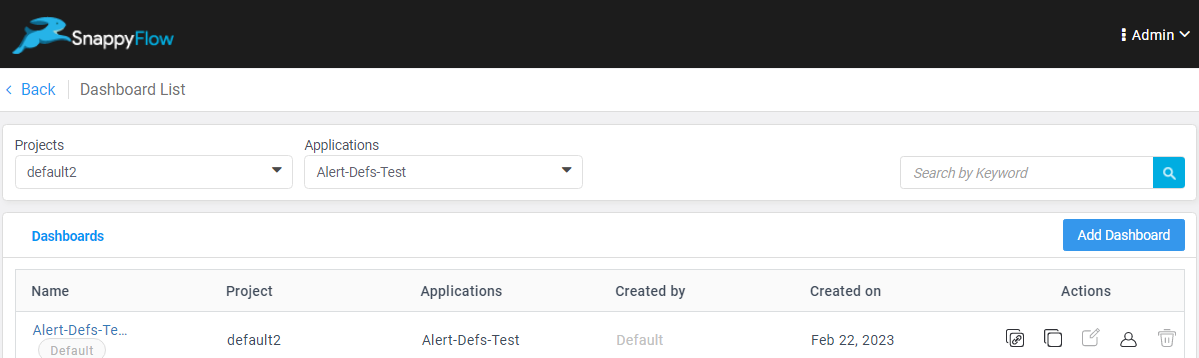
Manage Dashboard
Go to the Application tab.
Navigate to the Project > Application (Example: default > Nested test).
Click the Application Menu
...icon.Select the Dashboard List option.
In the Dashboard List window, a Dashboard table with the following details (Name, Project, Applications, Created by, Created on, Actions) will be generated. The Action column has the options to:
Copy the dashboard URL
Clone the dashboard. It also allows you to edit the cloned dashboard
Edit the information in an existing dashboard
User access control and add new users.
Delete the dashboard
User Access Control
Click the User icon in the action column of the dashboard table.
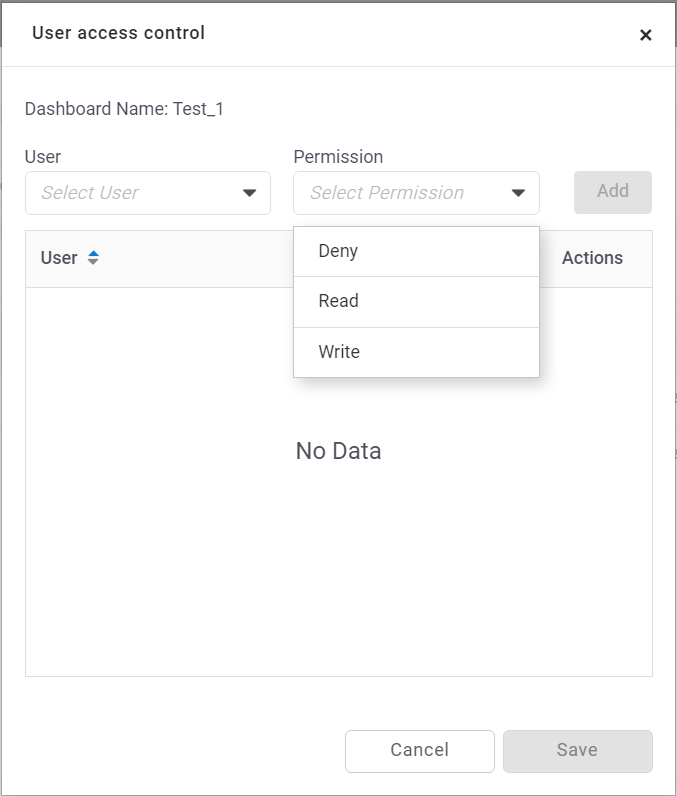
To add a user, select a user and the user's permission (Read or Write) in the User access control window.
Click the
Add>Savebutton.To restrict a user, select a user and the permission as Deny.
Click the
Savebutton.